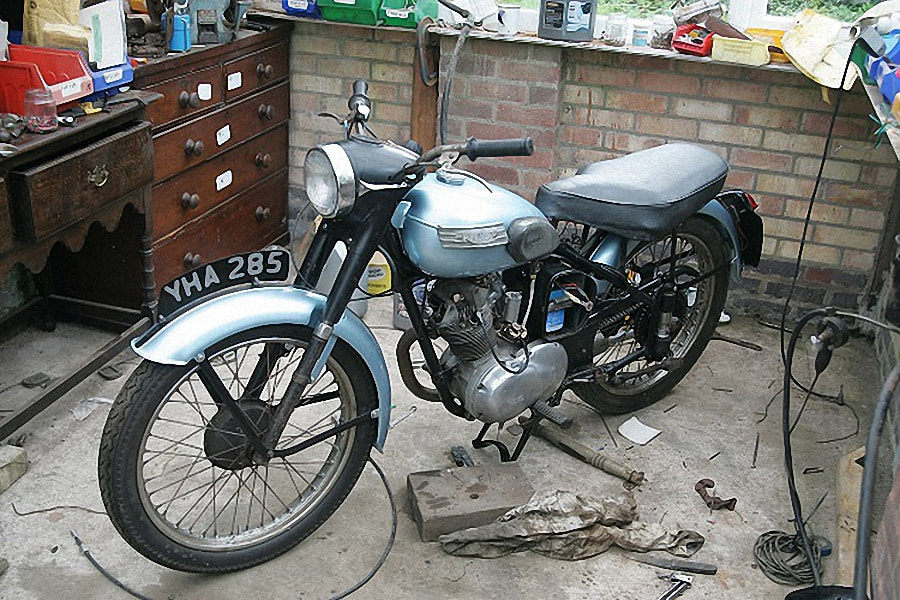
A 1955 Tiger Cub in a box
by Joe Guttridge
by Joe Guttridge
I was fortunate in living on a common in South Bucks in the early 1960’s. At that time, although under 16, I and others could ride old bikes on the common and on farms around the area as long as we didn’t upset other users too much. Old British bikes were cheap and plentiful, indeed so cheap that something with a side valve engine or girder forks was simply valueless (with distinguished exceptions of course).
had countless BSA Bantams & Villiers-engined bikes and even then, enjoyed getting them going as much as riding them. Their cost was typically in shillings (remember them?) And briefly, I had a maroon Triumph Terrier. A different kettle of fish from all the 2-strokes, more “grown up” with a 4-stroke certainty to its progress that leant me a credibility lacking in the frenzied 2-stroke buzz boxes (fart & hoppits my old dad called them). And of course it started (albeit spitefully, kicking back and spitting at me) where 2-strokes would wear your right leg out, sometimes without so much as a pop and defy all attempts to start.
had countless BSA Bantams & Villiers-engined bikes and even then, enjoyed getting them going as much as riding them. Their cost was typically in shillings (remember them?) And briefly, I had a maroon Triumph Terrier. A different kettle of fish from all the 2-strokes, more “grown up” with a 4-stroke certainty to its progress that leant me a credibility lacking in the frenzied 2-stroke buzz boxes (fart & hoppits my old dad called them). And of course it started (albeit spitefully, kicking back and spitting at me) where 2-strokes would wear your right leg out, sometimes without so much as a pop and defy all attempts to start.
|
So when, 30+ years later I was offered a 1955 Tiger Cub in boxes by a seller having to clear his garage, temptation was too much.
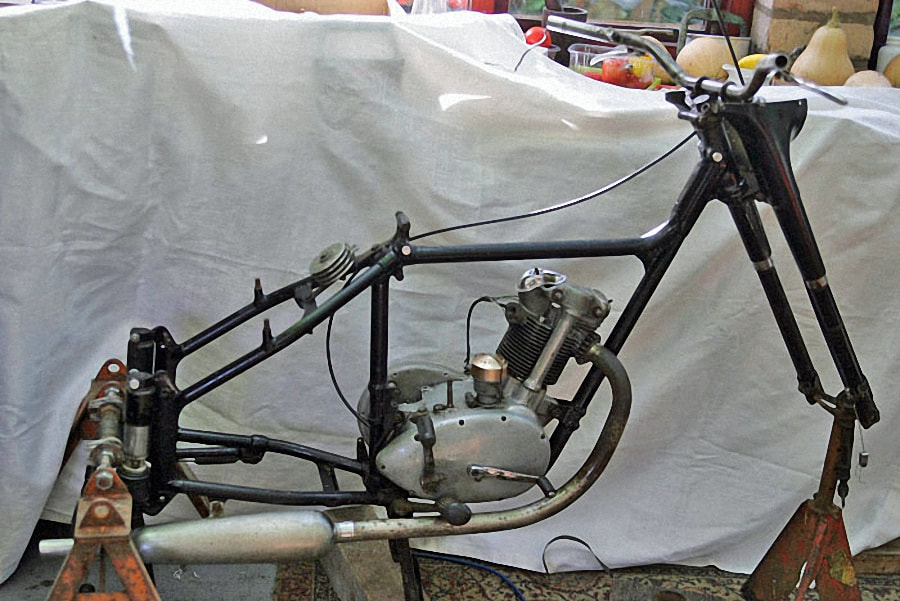
I had not ridden a motorbike since having a combo in the 1960’s and thought, naively, that I would soon get it up and running and could then recapture my lost youth by using it occasionally around the field, if not on the road. I loosely threw it together, as much to give me a vision of what the future held as to check on what was and wasn’t missing. Everything seemed to be there, excepting the speedo cable and head race bearings. Also original parts lists and instruction book, etc. The numbers on both frame and engine (T15878) matched the buff logbook and V5C and the registration number appeared original (YHA 285). |
The bike had lived in the Midlands most of its life. But the V5C was not in my name, basically because the previous owner had never changed it from the registration by the person he had bought the bike from. However this was soon sorted. The tank and mudguards were in their original colours but simply too far gone to retain the paintwork. The frame was in good order and had obviously been properly repainted at some stage, although some rust pits were evident. I stripped the engine partially and it proved to be in quite reasonable condition with only very slight bore wear. The big end felt OK, cylinder head and valves also.
However I needed to earn a living. Work, that is. The scourge of the drinking classes! I put the Cub in boxes, shoved it all in the shed and carried on plying my trade. In 2013 I was 65, remission for good behaviour! Time to open the shed. But first a phone call and some new reading “The Tiger Cub Bible” and a visit to the “Founders Day” rally.
I really got taken, not with the immaculate restorations, but with the more original bikes. Somehow they put me more in mind of my own memories of the 1960’s. Also, reading the “Bible” and my own experience of inspecting YHA285, revealed the bike was quite an original survivor. For instance even the spectacle plate remained in the pushrod tube.
There was no oil seal at all in the mainshaft penetration through the inner primary chaincase. The alternator wiring was the dark green/mid green/light green. The cover on the points tower was still gold in colour. So I determined I would only replace what needed to be replaced to make the bike a safe, honest running bike. Not easy.
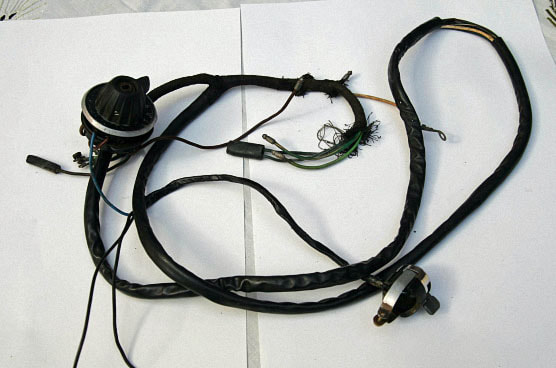
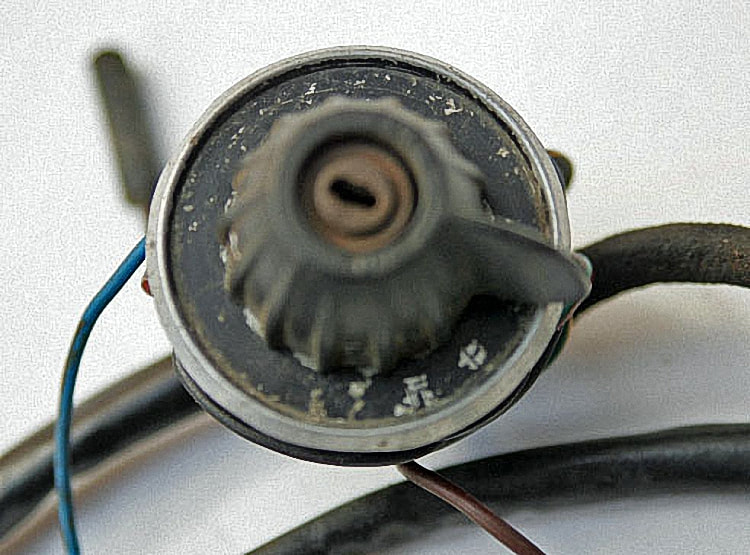
The first job was to assemble the wheels and frame in the outhouse. It all seemed OK, a slight twist to the front forks perhaps, 1 or 2 very rusty spokes to the front wheel. Tool box and oil tank went in OK, even the short spacers were in the box of bits! The wiring loom had some badly frayed wires but generally was surprisingly good, cables still reasonably flexible. The loom I put to one side and later soldered new connectors on where necessary. I managed to locate correctly coloured replacement cable in places (it was not originally wired as per the “Bible”, the wiring to the rear lamp for instance, being brown/green not maroon).
The rear lamp was not as per the Bible either, obviously a later replacement. I reluctantly bought a pattern lamp. The engine fitted into the frame and lined up well. The forks went to the nearby expert to be “trued up”. They then went back on the frame and had the front wheel loose fitted to check all was OK.
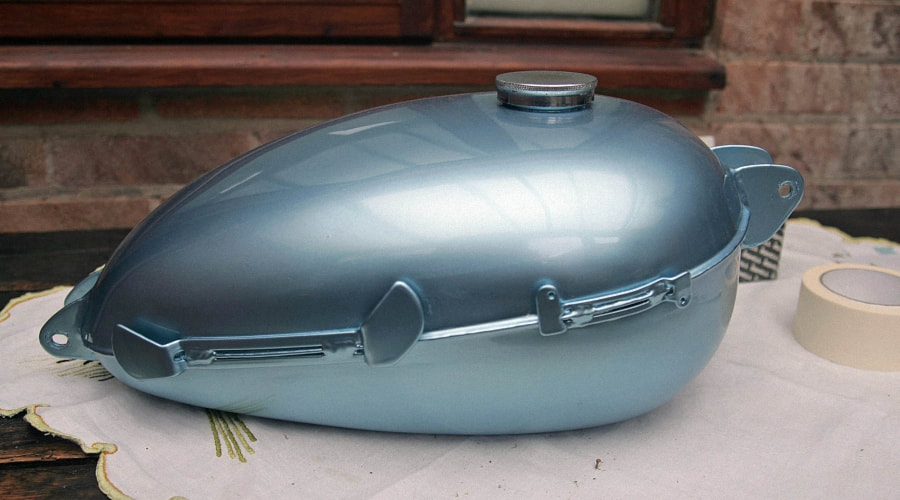
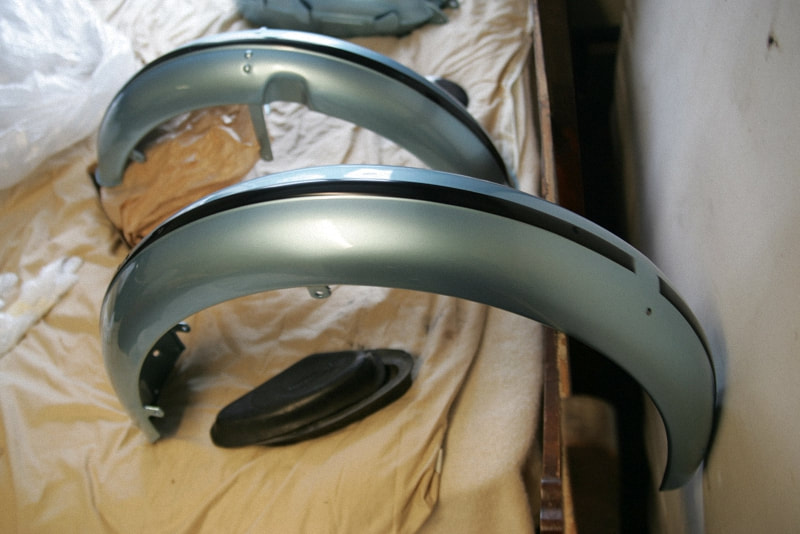
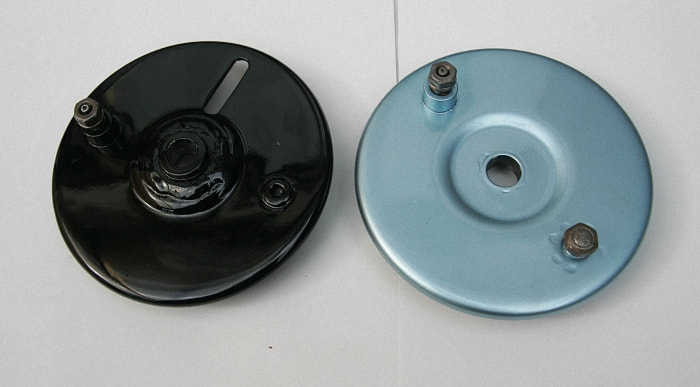
Tank and mudguards were simply not up to muster. There were some cracks in the mudguards close to the bracing stays. The tank paintwork was very, very poor and there were one or two dents. I stripped all three to the bare metal as best I could and they went for aqua blasting. From there to a really good man for repair and the necessary shell blue sheen and lacquer. Likewise the front brake backplate.
|
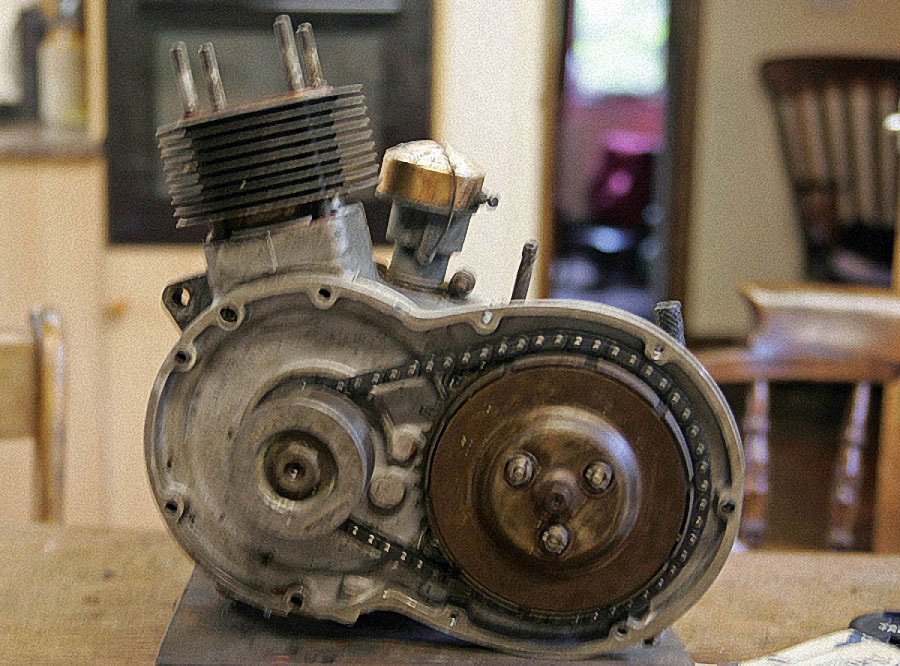
The clutch and primary drive also needed new springs, pins etc., although the sprockets generally were fine. The bore where the mainshaft passes through the inner primary chaincase was worn, so I bushed it back to standard with an oilite bush, popped and loctited in. The whole thing was finished off with a new primary chain and, yes, it is on the kitchen table – you can do this sort of thing after 40 odd years of marriage (but probably only with a Tiger Cub sized lump!). |
|
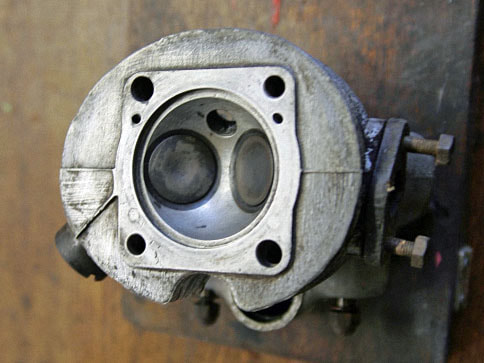
Then it was onto the next job. Valves out, re-seated and ground in. The carburettor was the original early Cub Amal 332. I dismantled it completely, cleaned it up with some probably highly illegal aerosol I got from eBay and reassembled it. Getting the throttle cable to connect into the slide was really difficult, but perseverance brought success. The float did just that when tested and the box of bits even contained the inlet tract packing piece! |
It was now time for the engine to go back into the frame, and to sort everything else out to check what was and wasn’t there. Also what was suitable for use or not. The wheels seemed OK, alright the chrome was poor, but they were original. I replaced spokes here and there (not easy, the front spokes are 20 gauge and took some finding).
Eventually with the spokes replaced on the front wheel, it was on with a new tyre. The original rear tyre held pressure, so I kept that on until such time as I would be riding it.
Eventually with the spokes replaced on the front wheel, it was on with a new tyre. The original rear tyre held pressure, so I kept that on until such time as I would be riding it.
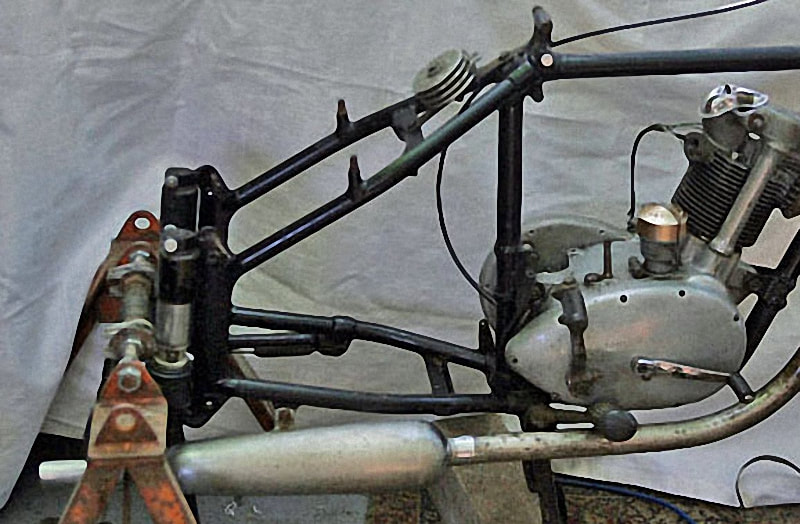
The rear suspension seemed OK at first sight. I made up a stand to clamp the forks of the plungers to a horizontal threaded stud bar so that I could fit the engine to the bare frame and test run it. During the fitting of the engine, the drive side fork failed and the bike almost toppled over - near disaster. I tried Greystone’s for a replacement fork and, whilst they had lots of rhs forks they had no drive side forks. Hmmm! So only the drive side plunger forks seem to fail?
Now I remember very little from my technical education, but I remember well a lecture on metal fatigue in the 1960’s. The reason I remember it is that I had been offered a standard Avon sports car for little money and the engine needed a rebuild. The conrods were aluminium alloy and the lecture on metal fatigue clearly indicated that aluminium and its alloys were particularly subject to metal fatigue, even when there was little or no sustained stress on the aluminium component. In other words, failure of the ally conrods was inevitable; it was just a case of when.
Now metal fatigue was only really first encountered in any dramatic sense when the De-Havilland Comet airliners started falling out of the skies in 1954; and Edward Turner had designed the plunger forks of the Cub some years before then. So could it be that the cyclical loading, albeit very low stress of the brake plate anchor peg, be fatiguing the plunger? I simply don’t know. But I do know that examination of the failure crack in my plunger showed there was a small pre-existing crack there. So I bit the bullet and bought an entirely new plunger fork from B & B engineering. Expensive compared with a s/h part, but what price peace of mind?
And, while I was dealing with B & B, I also bought the correct centre stand for the 19” wheel Cub, which this one is. The stand that came with the bike and was claimed to be a correct plunger Cub stand was just a bit short (about an inch), almost certainly from a “chubby cub”. Anyone want it?
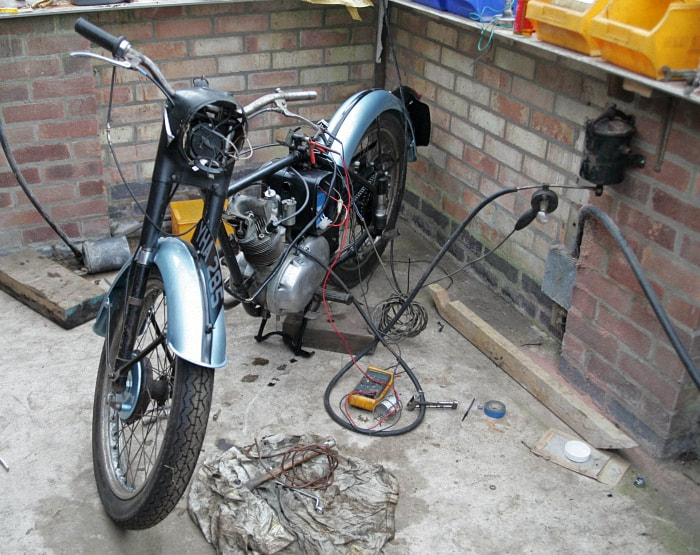
At about this stage in the rebuild, I finished my new conservatory (well, that’s what my wife calls it) so I popped the Cub in there to work on in the warm.
The rear brake back plate had been stripped and painted, existing shoes cleaned and refitted with new return springs. On the matter of brake shoes, I have to say experience of asbestos replacement materials as either gaskets or friction materials for that matter, has left me unimpressed. So I always try and reuse old brake linings unless they are really down to the rivets (or less than 1/8” in the case of bonded shoes). Clean them off with gunwash or similar, clean the drum surfaces and refit them with new springs. Luckily this worked on both front and rear on the Cub and brakes adjusted up OK as well.
I fitted the front forks, front wheel, mudguard, etc. Likewise the rear wheel and mudguard, final drive chain, chainguard and pulled the bike up onto its nice new centre stand.
|
I then connected a slave petrol tank, filled up the oil tank with the requisite quantity of 5/30 (yes 5/30 – I wanted the thinnest oil possible to get the system primed and scavenge pump working). I had checked the coil with a 6v supply and knew there was a good spark. Likewise the points, condenser, etc. were changed and temporarily connected up to a +ve earth set up. Auto transmission fluid into the primary case, gearbox oil topped up, drain plugs checked for tightness. |
A new plug and after a few tentative prods with the right foot and a few spiteful, retaliatory kickbacks, off she went. A wary eye on the oil tank top showed the scavenge return working intermittently as it should. An oil can was judiciously applied to the rockers, pending checking of the scavenge side oil supply. I think this start-up was more important for my own motivation than for any real contribution to the recommissioning process.
Whilst the bike was running, I checked the wires to the alternator - nothing! But I felt no end better for it starting, so time for some work on the electrics. Fitting the clear hooters horn into the rear of the nacelle was very difficult. Clearance to the back of the headlamp bulb rear connector is virtually non-existent but I finally got there. I re-soldered the horn button lead into the button, cleaned up, re-soldering the “bullet” connectors where necessary. This got the headlamp, rear lamp and horn working. Also a clear 6v signal to the points tower terminal from the loom when the ignition was switched on (I did the initial start with a temporary supply).
It was then primary chaincase cover off, alternator windings off and onto the bench. The old wires were frayed where they exited the chaincase. Apart from this they were OK. I de-soldered the wires from the windings and checked the resistance between each pair of the 3 points. 1 ohm, 0.6 ohm, 0.8 ohm. OK so far. I re-soldered new wires onto the stator windings, re-fixed them and taped them and then refitted the stator. These wires were colour coded (g/b, g/y & g/w) as per the more recent diagram, basically because of lack of availability of the original dark/mid/light green cables. Time to start up and retest.
Slave tank bolted to the conservatory wall, fuel pipe to carburettor and it’s time to go. Started up about 10th kick after much spitting and kicking me back. Headlamp bulb showed a good voltage g/w wire to g/y wire, also g/w to g/b but nothing from g/y to g/b. Consulting the web showed this was OK. So fingers crossed, connect the g/w alternator wire to the light green loom wire, g/y to mid green and g/b to dark green then light green and dark green loom wires to the AC connections of the new solid state rectifier. The earth wire to the +ve connection and a bulb between the –ve terminal and earth and start the bike up with headlamp switch in off position. Bulb lights up. Switch to pilot position, bulb glows brighter, switch to headlamp position, bulb glows brighter still. Switch ignition to off, engine stops. Switch ignition to 'emgy' position and engine starts first prod. Success!
I always feel a bit surprised when electrics work OK for me, so my satisfaction is a bit tinged with disbelief. I kick the bike up again and it all works again. Disconnect battery, shut off slave fuel supply and bask in a warm glow.
Next jobs are then nacelle top on, side flashes and speedo fitted and fit the reconditioned tank. Then soak the original fuel tap in Esso supreme unleaded (Esso claim this is ethanol free in most of the UK, certainly around here. I can forward email from Esso technical if anyone is interested) and reconnect it to the carburettor and hopefully soon it will be rideable.
But getting the electrics working OK is quite enough excitement for the one day!
Before moving on I realised that although I had checked the scavenge return in the oil tank, I had not checked that the rocker oil feed (which is fed from a tee piece in the scavenge return pipe) was delivering oil to the rockers. Doing this check is good motivation as it provides yet another excuse to start the bike up. So start up, loosen both dome nuts to the rocker end banjo connectors half a turn or so, check scavenge oil is spurting from the pipe in the oil tank, finger on the end of the in tank oil pipe and …. ...oil drips very slowly from the rear nut. Tighten this nut up and wait …. ...a sudden puff of smoke from the finned exhaust sleeve as a droplet from the front nut drips down onto it. Finger under the nut, definite oil under the nut - job done.
I had, early on in the rebuild, found the rocker oil feed to be loose on one of the banjo connections to the rocker and had re-soldered it. Now I had blown through the pipe afterwards to each banjo connection, but there is nothing like actually seeing the oil getting where it should be. So now to reassembly.
|
Initially by installing the speedo and fitting the nacelle top - simple you would have thought but far from it.
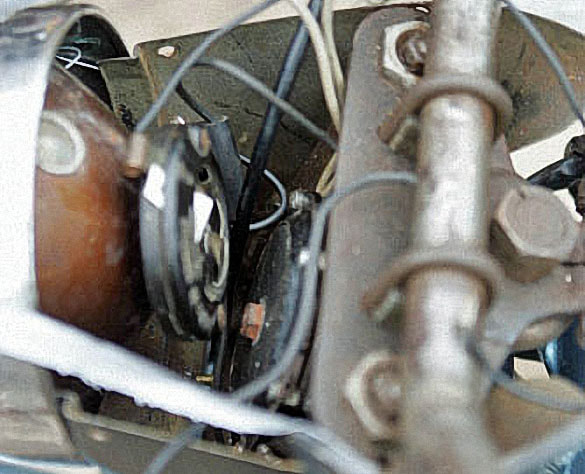
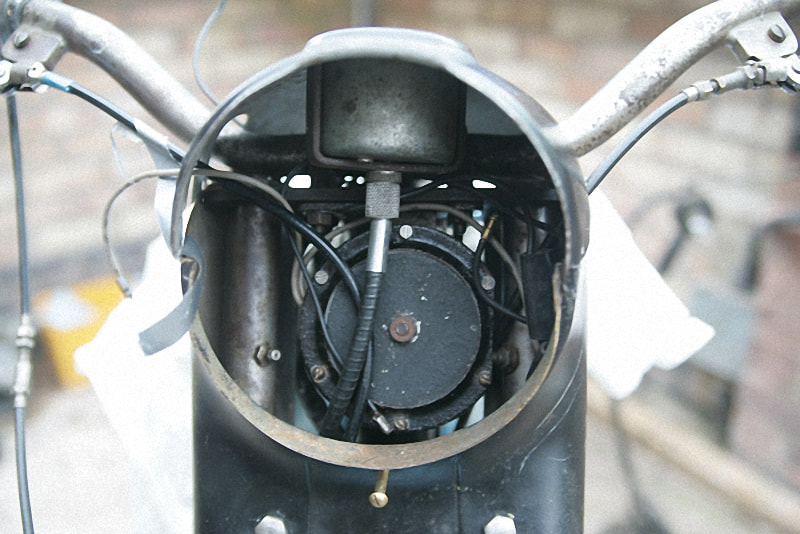
There simply did not seem to be enough room between the back of the headlight bulb holder and the front of the horn to allow the speedo cable to fit in below the speedo as it should. Phone calls to various people, Mike Estall, Greystones, other Cub owners. The general consensus was to fit a modern small 6v horn because the congested area behind the headlamp had always been problematic. |
But I really wanted to try and retain the original “clear hooters” device with its characteristic muffled chirp. I must have had the horn off and on 4 or 5 times before I could get the optimum fit. This is such that the rear of the horn body has around 1 – 2mm max clearance to the steering head and is parallel with it. Not easy to achieve and even then, the speedo cable will be very close to the rear of the headlamp bulb holder, which could give problems if an inadvertent earth occurred (always a possibility, which is why I had fused the live (-ve) feed from the battery with a 25A line fuse).
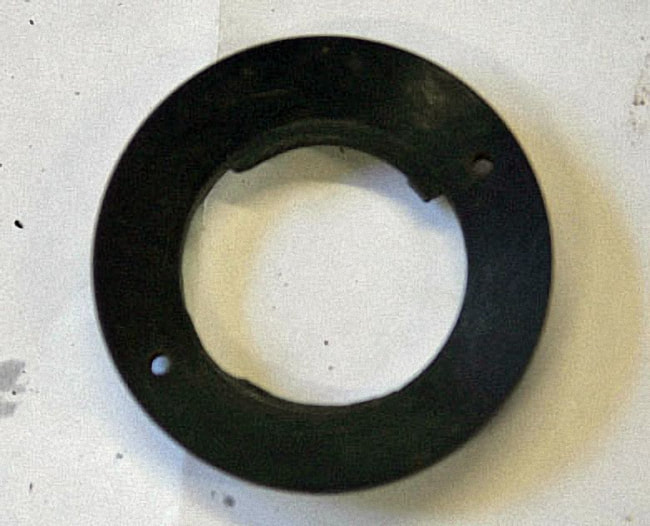
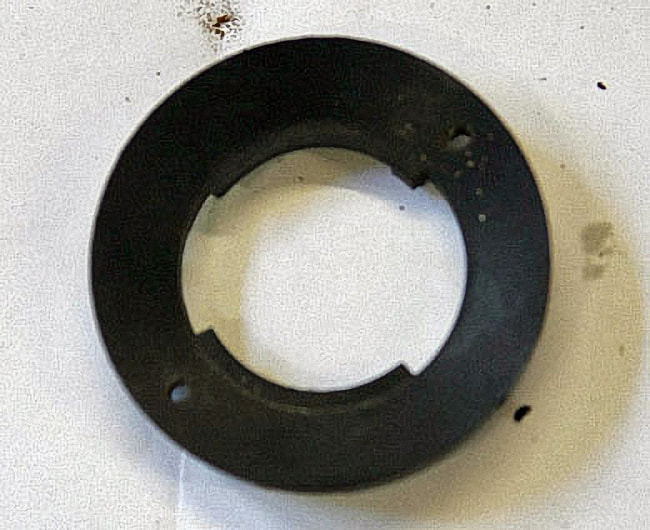
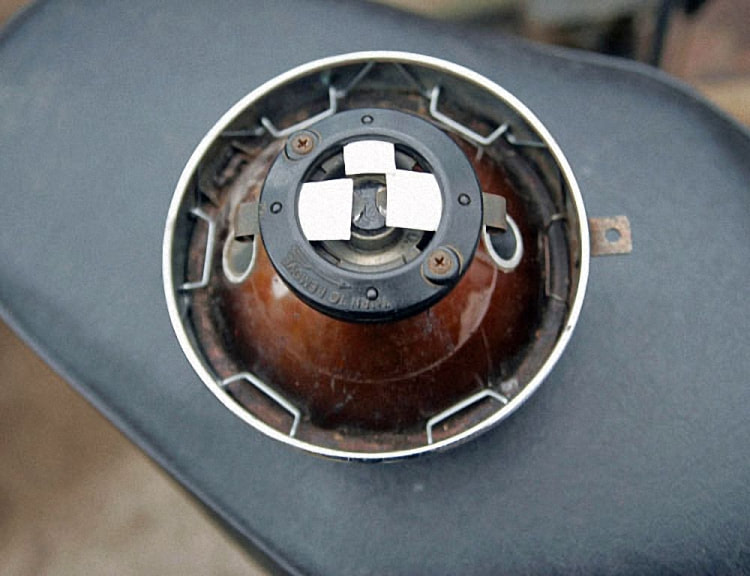
After I had optimised the horn position, I dismantled the original Bakelite bulb holder and found it had one of the bayonet lugs pretty badly worn, virtually missing in fact. Much searching of dealers, etc. finally unearthed a mint item with undamaged lugs.
Expensive but worth it, as it holds the fitting exactly where it should be relative to the reflector, horn and speedo cable. Finally, I also made and fitted new plastic shrouds to shield each of the contacts at the rear of the bulb holder.
Expensive but worth it, as it holds the fitting exactly where it should be relative to the reflector, horn and speedo cable. Finally, I also made and fitted new plastic shrouds to shield each of the contacts at the rear of the bulb holder.
|
A last check of the in-nacelle area with the nacelle top loosely in place before final assembly was followed by a measurement of the clear depth available for the headlamp assembly which showed only JUST room despite the rear of the horn being parallel with the axis of the steering head, and only around 1mm clearance to the steering head.
A “miss” hopefully is as good as a “mile”. How Triumph (or at least the man who assembled the nacelle) would have welcomed cheap and tiny Chinese hooters! |
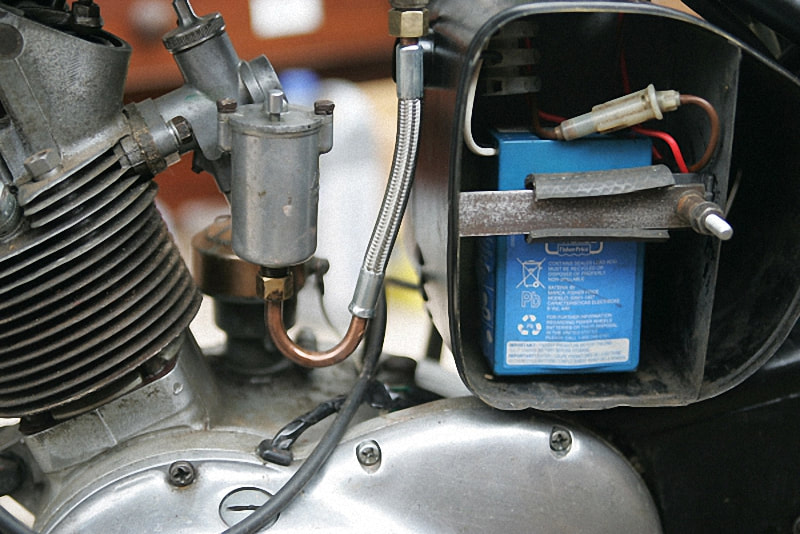
I fitted neatly-fitting braided fuel hose (also notice the inline fuse protecting the wiring loom from inadvertent short circuit) and following soaking of the petrol tap and flushing out of the tank, I refitted the original side cheeks and the Triumph “mouth organs” each side. The tank was then loosely bolted in place and the fuel hose assembly measured up. I don’t like using old fuel hoses, as a matter of safety really. But I did want the new hose to replicate the braided metal casing of the original.
A local firm obliged with braided stainless steel fuel hose with correctly crimped ends all made to suit the actual dimension between tap and float chamber (with a bit of off-set to accommodate movement). I checked the tap function (including reserve) and it seemed to seal fine in the closed position, no drip from the end of the hose prior to fitting to the float chamber.
A local firm obliged with braided stainless steel fuel hose with correctly crimped ends all made to suit the actual dimension between tap and float chamber (with a bit of off-set to accommodate movement). I checked the tap function (including reserve) and it seemed to seal fine in the closed position, no drip from the end of the hose prior to fitting to the float chamber.
|
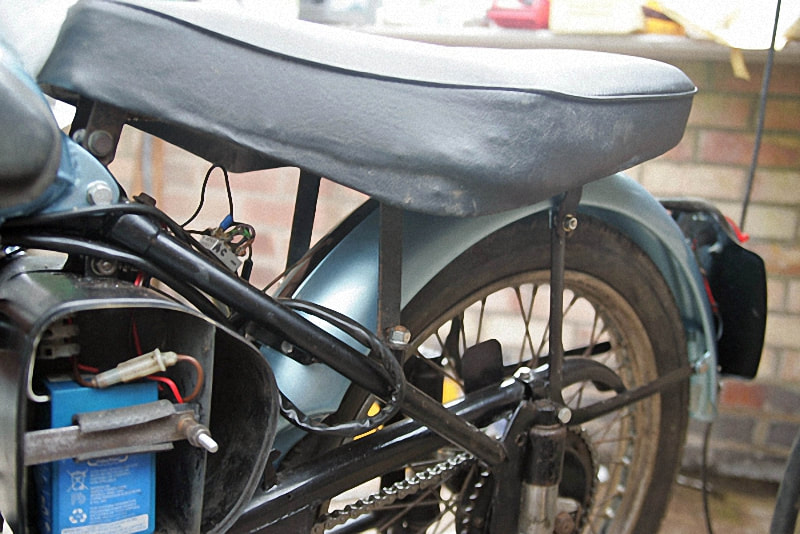
I fitted a non-standard modern solid state rectifier under the seat in the normal place and the straight battery clamp with pro-tem packer to suit the modern battery.
Refitting of the dual seat was fairly plain sailing but note the use of outside SS nuts on the rear seat mounts. As per the parts list but using internally fitted SS bolt rather than the stud F3866 shown in the parts list p52. Finally my Cub was all back together and ready to ride. |

