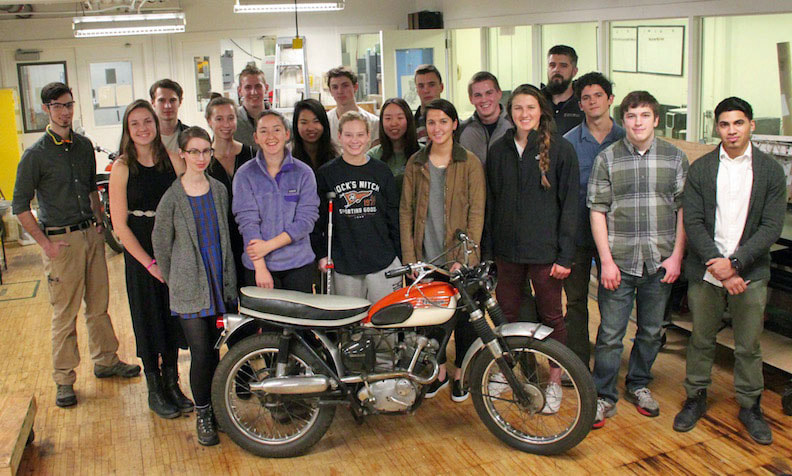
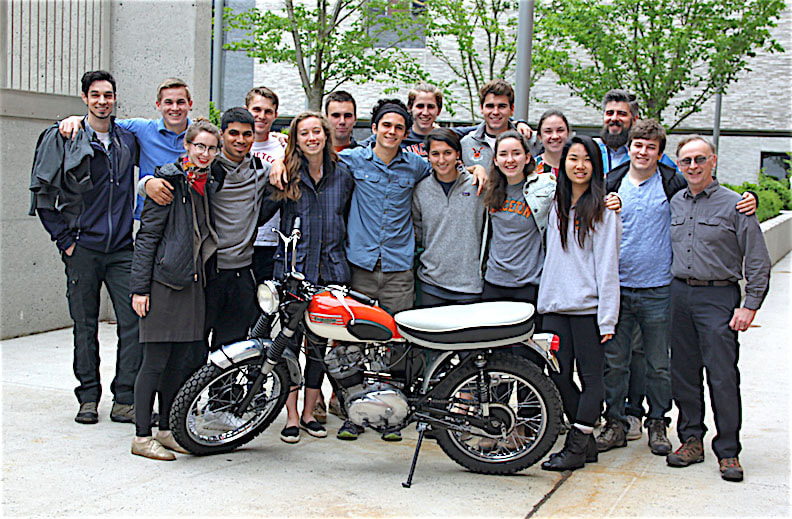
The Class of 2015 - 2016
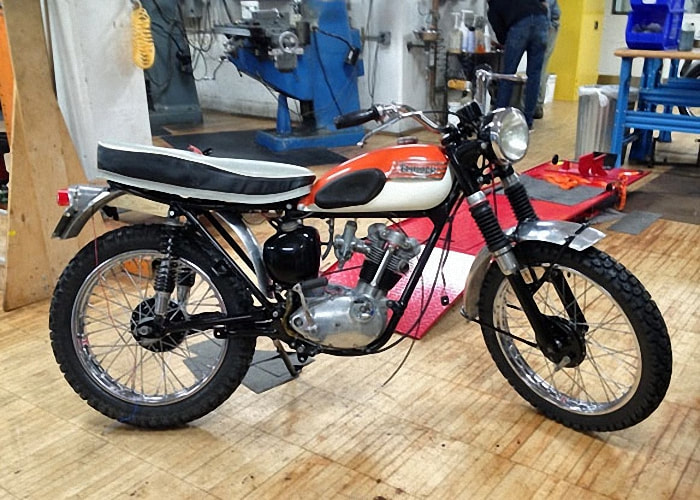
Project - 1965 Tiger Cub
Project - 1965 Tiger Cub
Strip down
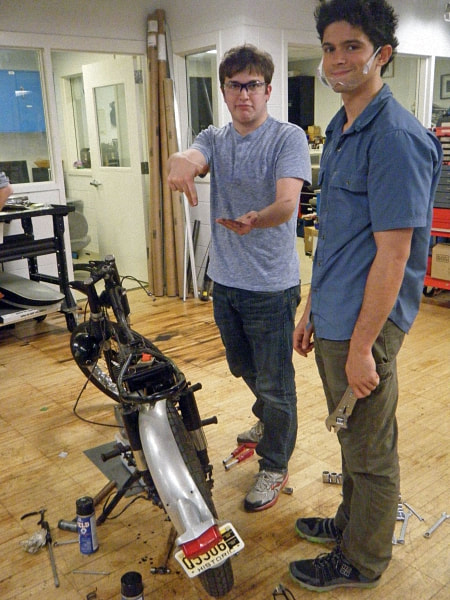
We, as the frame team, began with disassembly of the frame of the bike and parts attached to it. After all the parts were taken off, bagged, and categorized according to the Tiger Cub manual diagrams, we inspected the larger parts of the frame.
We, as the frame team, began with disassembly of the frame of the bike and parts attached to it. After all the parts were taken off, bagged, and categorized according to the Tiger Cub manual diagrams, we inspected the larger parts of the frame.
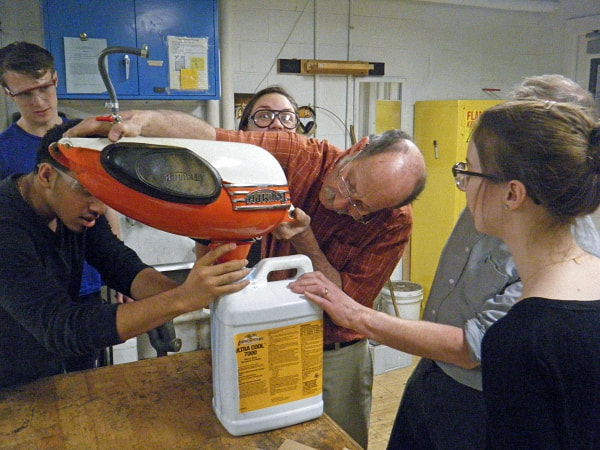
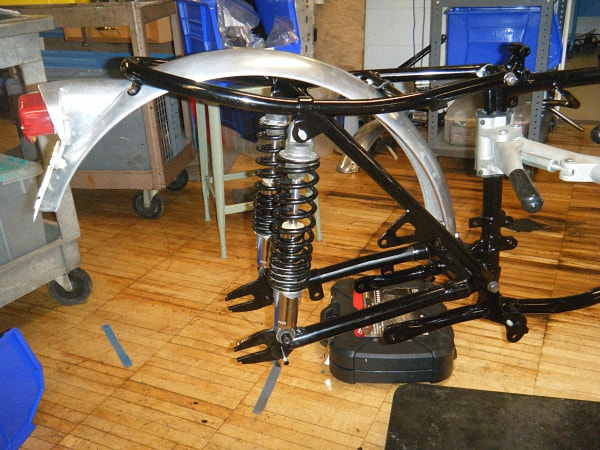
In order to help us look for cracks or damage, we cleaned the parts with citrus degreaser and Yield spray. We also sandblasted the important frame parts in order to take paint off and expose the joints. Then, after being inspected, the frame pieces were sent to the powder-coater in order to be given a smooth, shining, and strong finish.
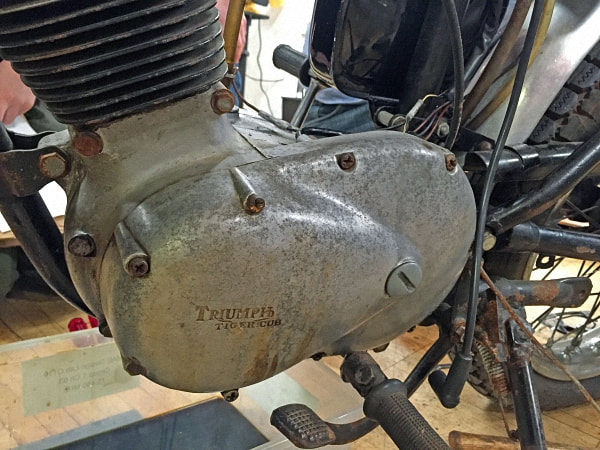
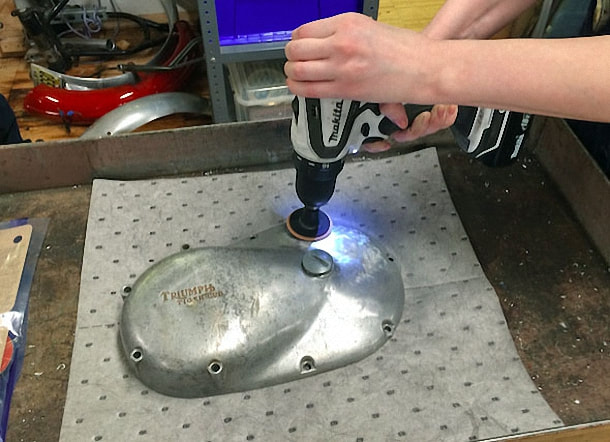
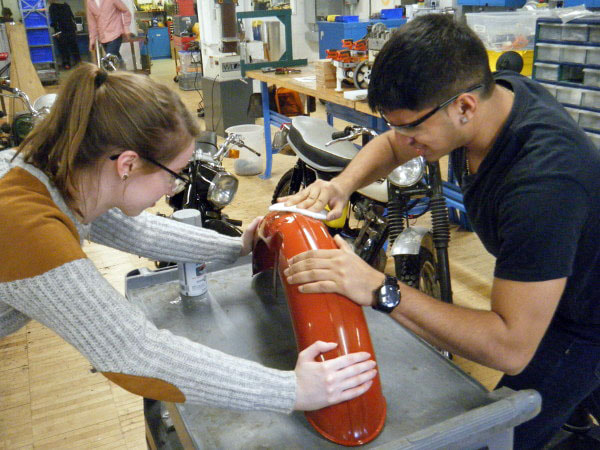
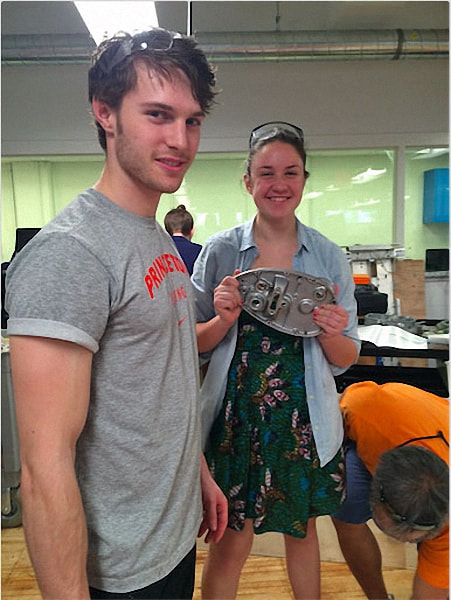
While we waited for these parts, we continued to clean other parts. In addition, we buffed and polished the engine case as well as the two fenders. In order to do so, we used scotch brite pads and grit paper to buff out scratches, and we used a white polishing compound to give them shine.
|
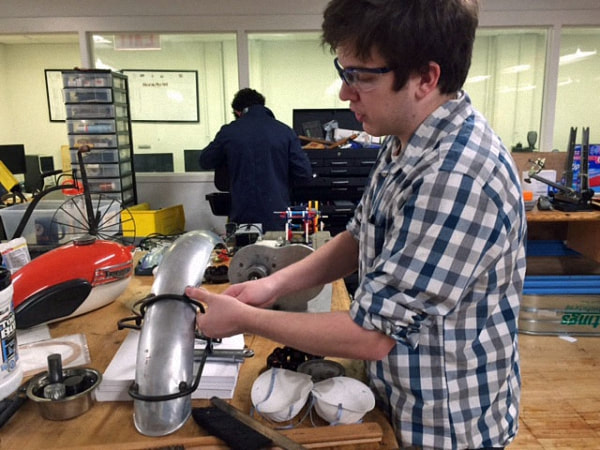
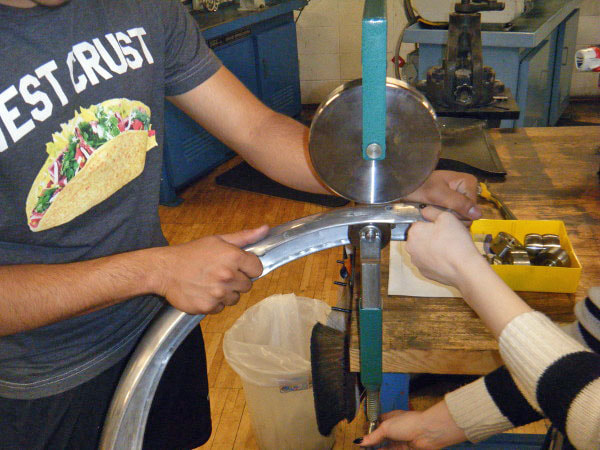
The mud guards came to us a bit beat up and dented, so we needed to use metal rollers to clean up and straighten the metal.
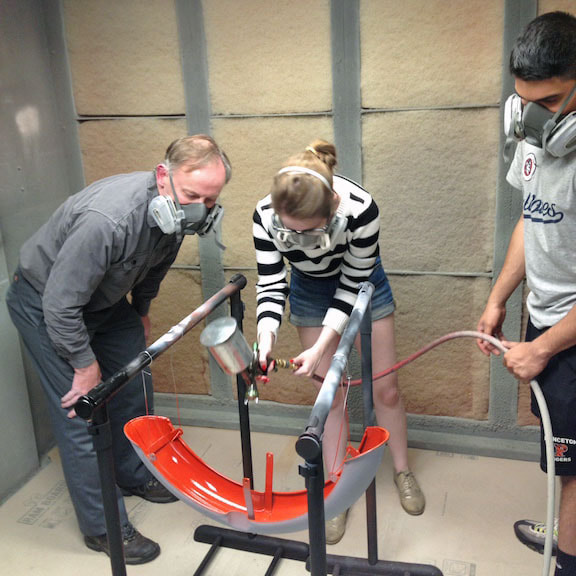
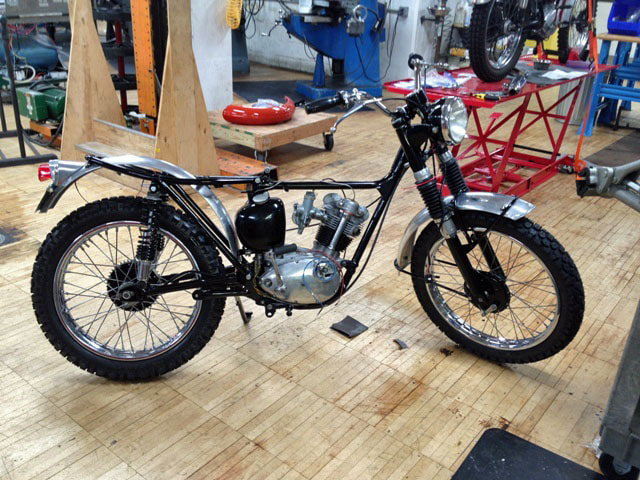
After the mud guards were painted, we cleaned any remaining dirt and debris off the surface. Afterwards, we gave the guards a good polish. With the fenders, we also used the English wheel to smooth dents and properly shape the fenders. In order to practice spray painting, Glenn showed us how to buff the shine out of the ’58 Tiger Cub fender. This helped prepare it for priming, which gave it a neutral color and matte finish. The primer allowed the actual spray paint to stick to the fender better, giving a smooth and even paint coverage. By that time, the parts had come back from the power-coater and we were able to assist the class in re-assembling the bike frame along with all the other parts which we had bagged, cleaned, and organized. |
|
Bottom End - Bottom End and Oil System (pump, reservoir, gallery, sump)
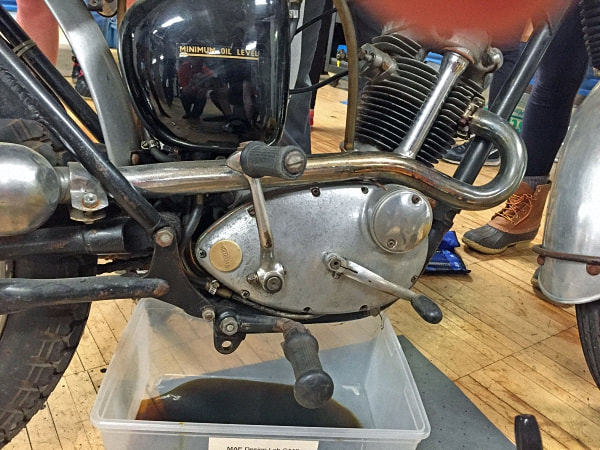
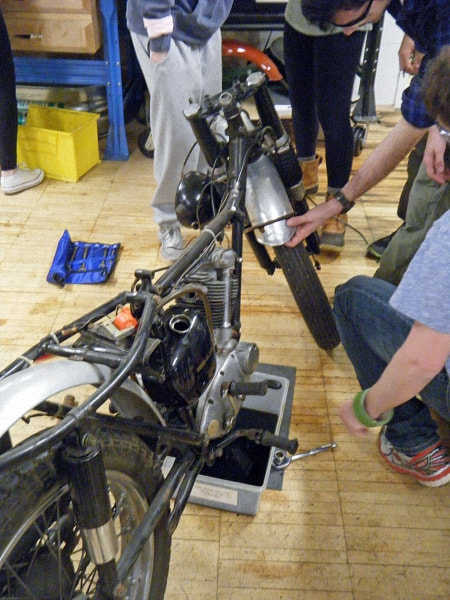
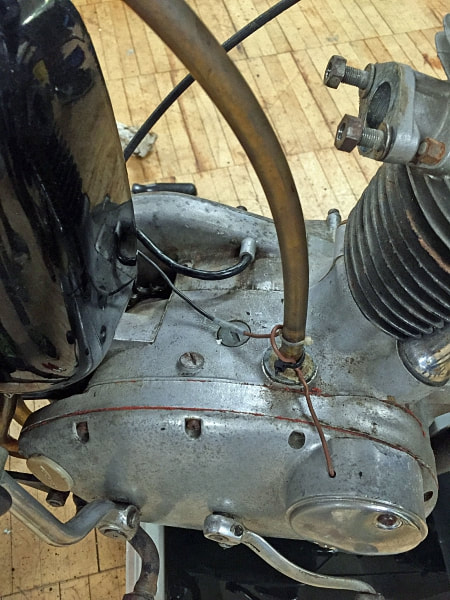
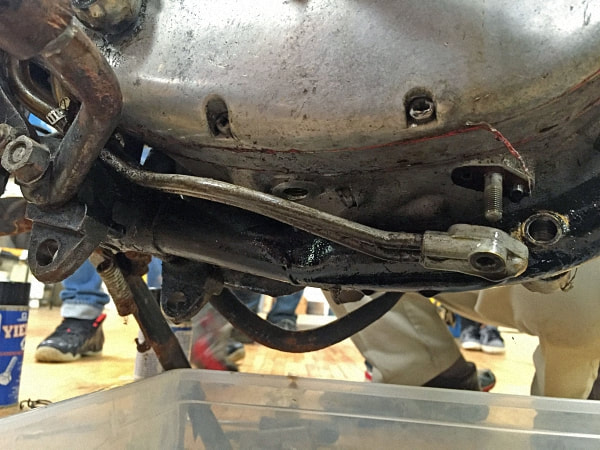
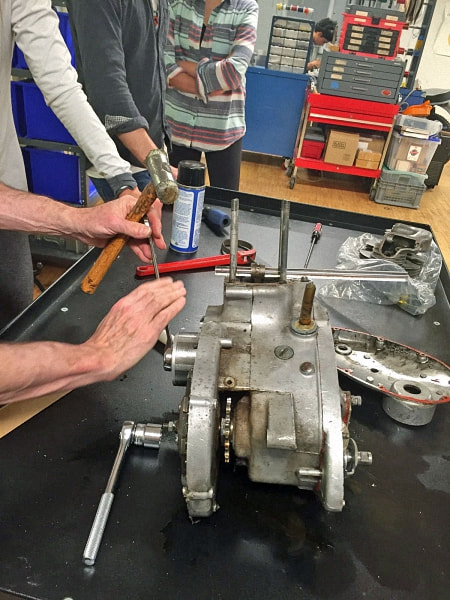
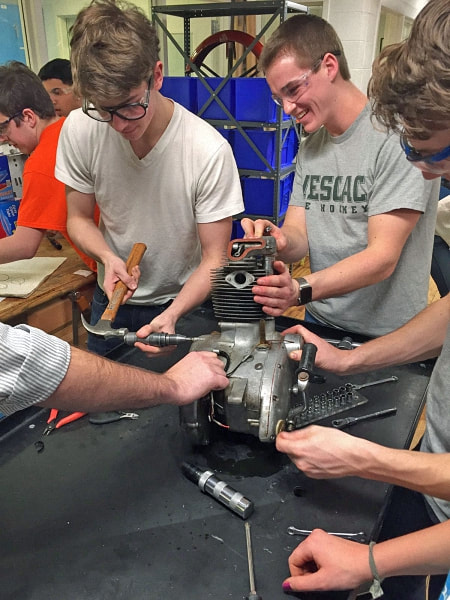
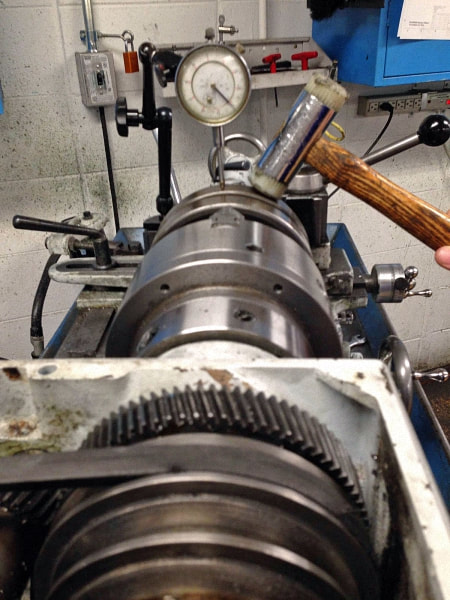
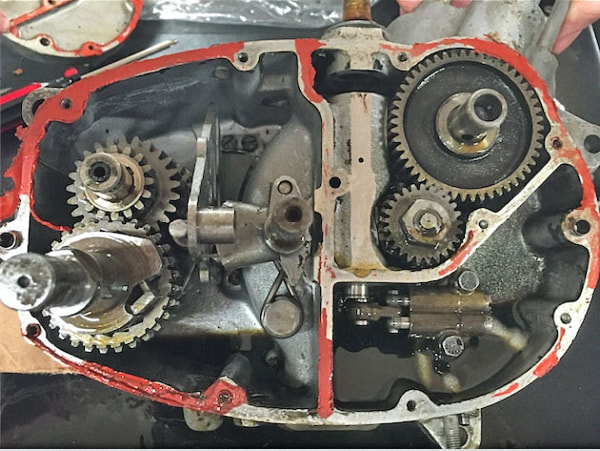
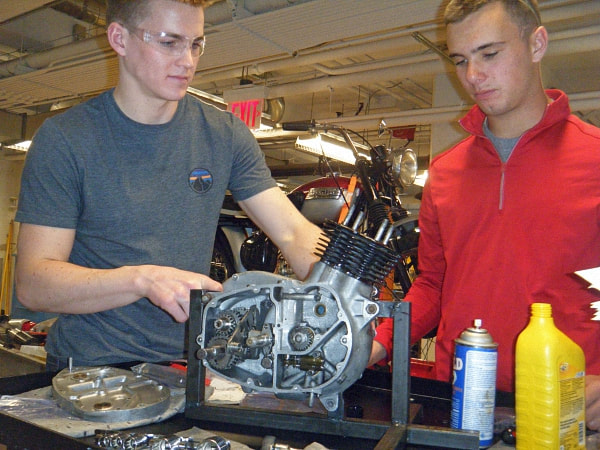
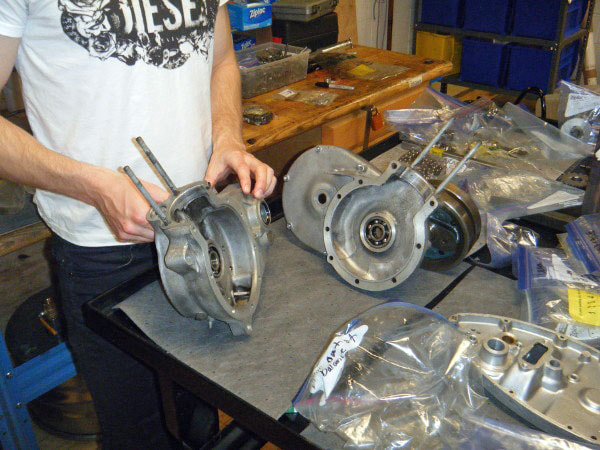
Jamie and Oscar We have had a great time reconstructing the bottom end and oil system of the Tiger Cub! We started out by draining all the oil out of the bike. Then, with the help of the top end and clutch folks, we took the bottom end off of the bike. Then we began disassembling: we used and learned all about Allen keys, Whitworth versus non-Whitworth wrenches, impact screwdrivers, and more. Throughout the process, we made a special effort to sort and label parts effectively, which paid off in the long run when it came to reassembling the bike. There were a couple of challenging moments – some bolts and the rotor were tough to get off. We tried many methods to get them off and it was through this process of trial and error that we were able to reach a final solution. Strategies included using a piece of wood to immobilize the connecting rod and reattaching the head of the engine, using a strap wrench, and using a chuck that we took from the lathe to hold everything still. It was great problem-solving practice! We did it in the end and finally we were able to split the case. |
From there, we spent lots of time cleaning. We cleaned and re-bagged every part we had taken off of the engine and made sure they were still in good condition.
We also meticulously cleaned the crankcase, making sure all of the dirt was scraped off and all of the threads were clean and we prepared the oil tank to be powder coated.
Then we worked with Glen to realign the flywheel using a hammer – funnily the most technical part of the whole process.
In addition, we took a day off from working on the bottom end to put together the motorcycle lift! It was a great opportunity to put our skills (direction-following, handling nuts and bolts, problem-solving) to use in a new way.
Clutch & Transmission
Ali W and Hudson
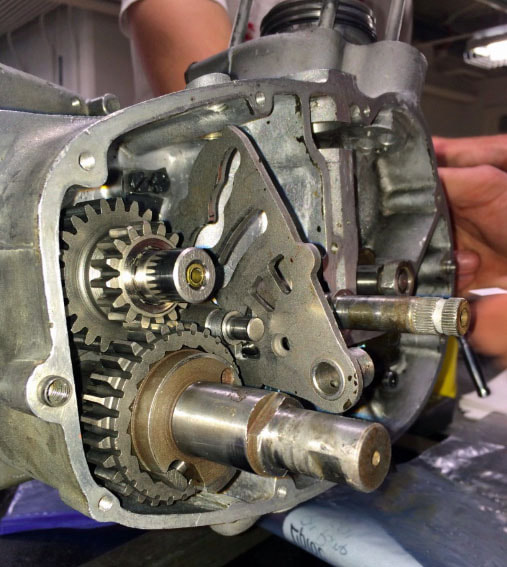
We were assigned to work on the clutch as well as the transmission of the ’65 Tiger Cub, responsible for the disassembly, cleaning, and re-assembly. Our first job was to help the top end and bottom end teams take apart the engine, breaking it into the timing side (transmission & bottom end) and the clutch side.
|
The biggest thing we noticed was the excess of old oil throughout the main compartments of the engine.
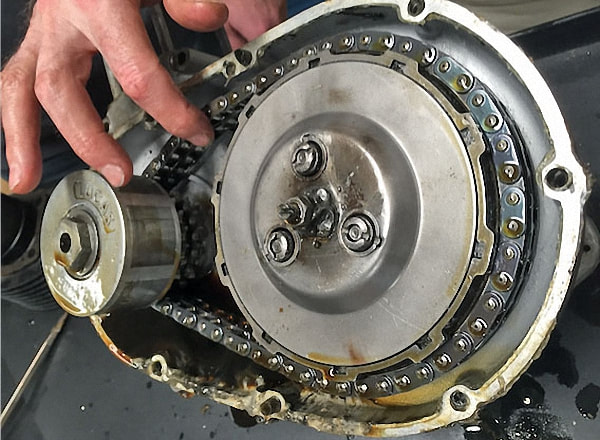
After we disassembled the majority of the engine, we were able to break apart into groups and work on the different parts of the engine. We first focused on the clutch side of the engine (taking it apart, understanding it, and cleaning all parts). We learned how to use different tools in the shop, such as Whitworth wrenches and flathead screwdrivers. After working on the clutch, we “shifted” our attention to the transmission. We first worked on understanding how the transmission works in relation to the clutch, and then proceeded to clean and reassemble the transmission in the bottom end of the engine. |
Top End
Chris and Parker
Chris and Parker
|
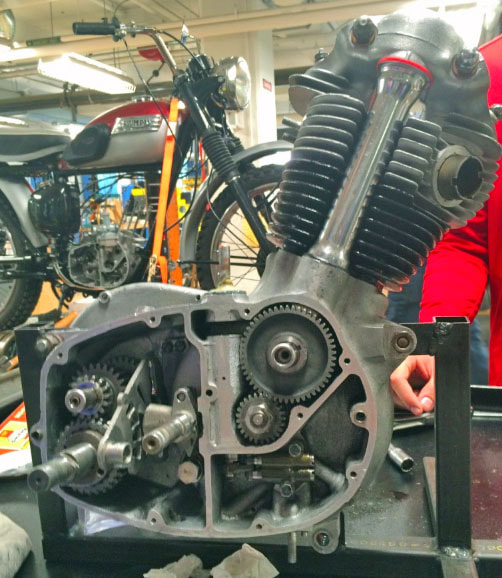
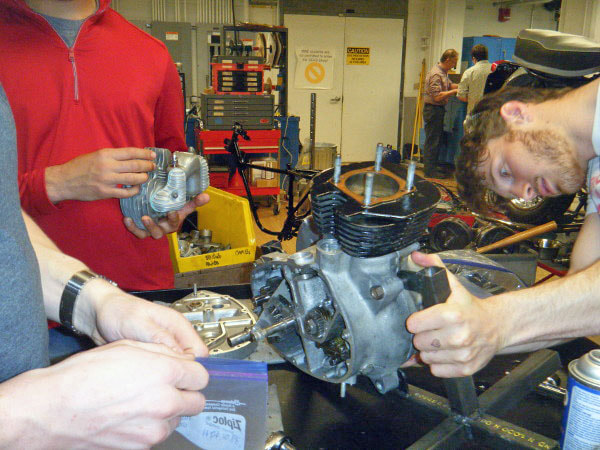
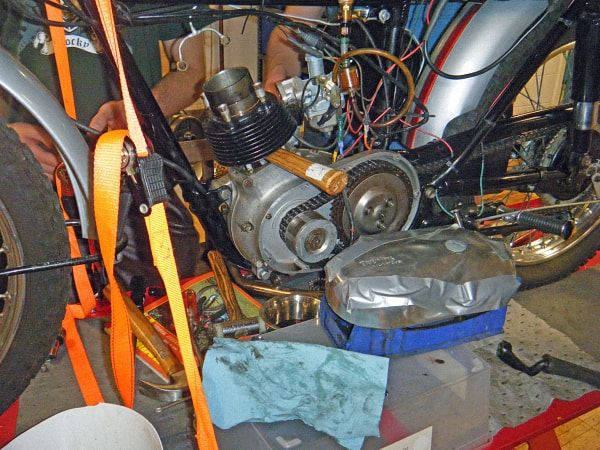
We started off with the class removing the engine from the bike and disassembling the top end completely, cleaning the parts individually before we started the restoration process. We then sandblasted the exterior of the head and polished it with an abrasive grit in order to seal against oil stains. Once we were happy with the condition of the parts, we measured the cylinder to check “squareness”, or whether the dimensions of the combustion chamber were uniform from top to bottom. We replaced the gaskets, retrofitting them to the correct size in order to eliminate leakage during operation while still maintaining the original appearance of the machine. We then trued the pushrods, planed the copper gasket on a flat surface with high-grit sandpaper and machinist’s oil, and set to work re-cutting the valve seats on the interior of the head. |
|
This process involved three separate cuts per valve, each at a different angle.
The most neutral cut was at an angle that would match the taper of the valve itself, and the other two angles allowed us to create a very narrow contact patch between the head and the valves, ensuring optimal flow of the air-fuel mixture into the combustion chamber during operation. After completing our restoration of the top end, we focused on reassembling the top end, which involves clamping the valve assembly, reinserting the rockers, aligning the camshaft with the crankshaft, fitting the pushrods, setting the valve gap, and finally, setting the spark gap on the spark plug. With this done, we focused our efforts on the 1962 Triumph, which needed the flywheel replaced. This ended up serving as a good trial run for the reassembly of our own engine, which went smoothly after we had spent several classes getting the ’62 just right. |
|
Electrical
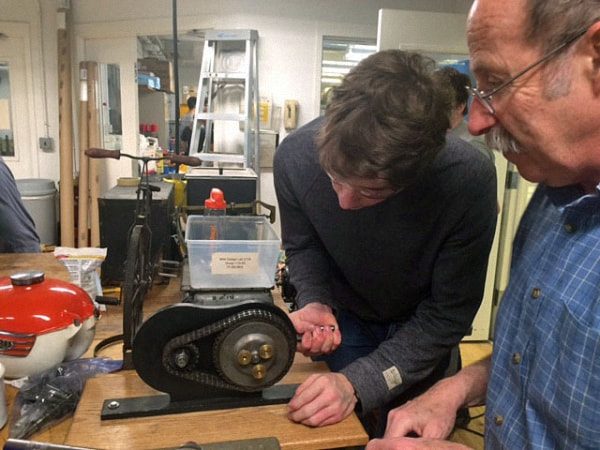
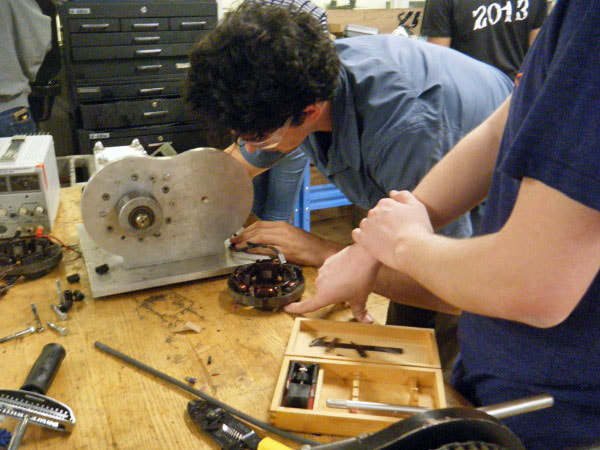
Preston & Diego The ’65 Tiger Cub is an energy transfer bike, so rather than having a battery to help power the electrical components of the bike it makes all its own power. At the core of the energy transfer process is the alternator, a two-part electricity generator that consists of a large magnet called the rotor and a series of wire coils on spokes called the stator. Without this vital component, the electrical system would not function and the ’65 would not run. While testing the electrical system, we mounted the stator coil on a testing apparatus and generated a current by spinning the magnetic rotor inside. |
|
The wiring harness connects all electric components. The connections between the alternator, distributor, ignition coil, and spark plug are of course the most important.
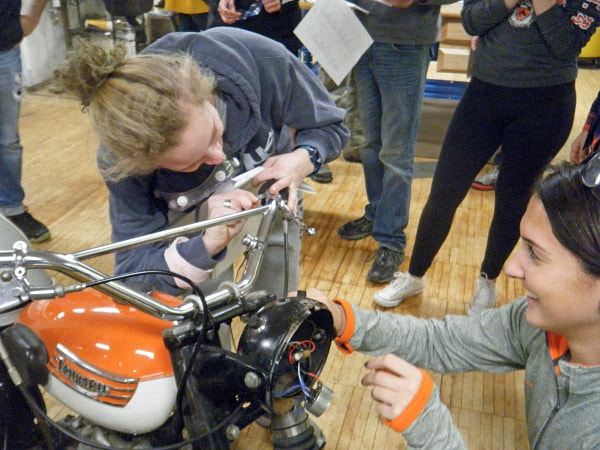
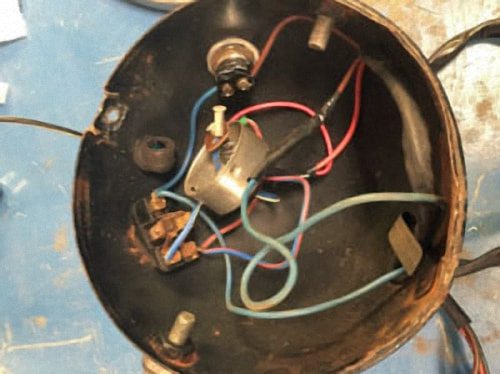
A major project of ours this semester was the restoration of the wiring harness. Headlamp - Other than being a headlamp, it is the hub of several electrical wires, including the speedometer lamp and high beam indicator. It took the most time to repair because of the complexity of the internal electronics. It needed a new bulb and fixture as the old assembly was falling apart. |
Fasteners, and our Fasten-ating Journey!
Micah and Jim
Micah and Jim
|
Assigned to work on Fasteners, Gaskets, and the Carburetor, Micah and I quickly bonded in the shop after being paired together in the second week of class.
Our first task as a group was to measure out and fabricate two new gaskets for the clutch and timing side engine covers. From that moment on, we proved to be a versatile group in the class, lending a hand to different groups when needed and learning lots about many different parts of the motorcycle in the process. Depending on the day, we could be cleaning parts, sorting fasteners, or working together with our classmates to group parts and assemble the motorcycle. One of the biggest challenges we faced was that of the carburetor, which took us many class sessions to complete. Micah and I started by completely disassembling and cleaning the part. Then, using the parts manual and some borrowed bits from other carburetors, we reassembled the carb’ for our ’65 Cub and tested it on another bike. After a few tries, and help from Professor Littman and Glenn, we got it working (almost) like new. After the carburetor was completed, our main task was assisting our fellow groups in assembly, We spent a lot of time searching through bins, hunting down all the necessary parts and fasteners to piece together (and hold together) things like the foot pegs or the oil reservoir. Finally, we spent some of our final lab sessions helping the top and bottom end teams to finish reassembling (with the help of our gaskets and some craftily applied instant gasket in the event of an expected tear), the engine. Once the engine was put back together, we mounted it to the frame, attached the oil tank, and before we knew it, we were outside the lab watching our motorcycle sputter into life for the first time! |
Forks and our fork adventure!!
Izzie and Alex
We were first assigned the front forks with no previous knowledge as to what or even where they were located on the motorcycle.
We spent the first few weeks of class helping disassemble the motorcycle and gathering all of the parts that were a part of the front fork or handlebars. Disassembly was a long process of figuring out what parts were damaged and needed to be replaced.
We had to use various tools to disassemble the forks and construct replacement parts.
During the assembly process, we cleaned all of our parts and prepped them for the powder coater.
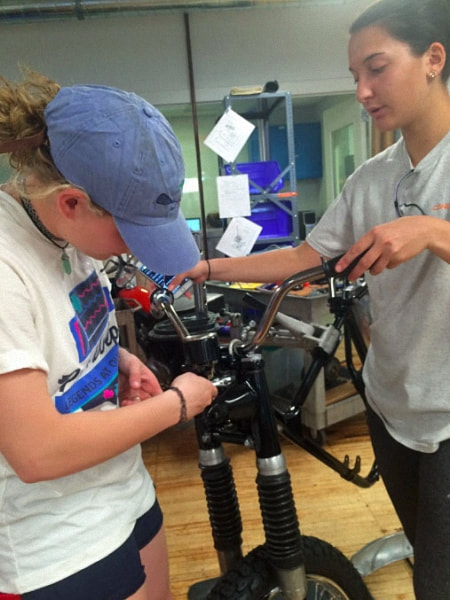
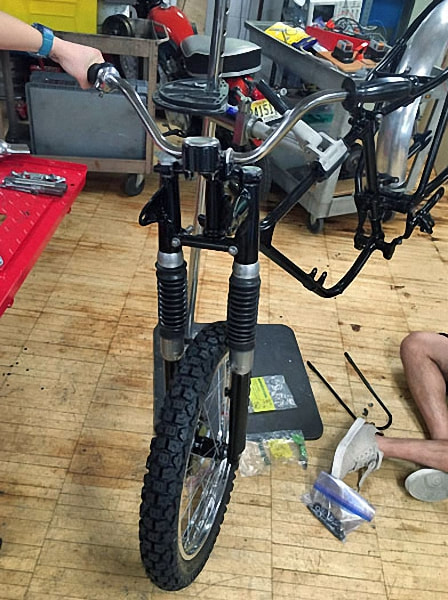
After all of our parts were ready to go, we began the process by attaching the yokes to the frame. We then assembled each fork tube individually and fitted them into the yokes, putting the fork bodies and ears on the forks.
Finally we attached the handlebars, speedometer, throttle, clutch, and front wheel onto the motorcycle.
Wheels
Grace, Aly K, Jenny
Grace, Aly K, Jenny
|
Wheels team this semester was such a blast! We predominantly worked with the wheels, but we also learned much about the other parts of the bike.
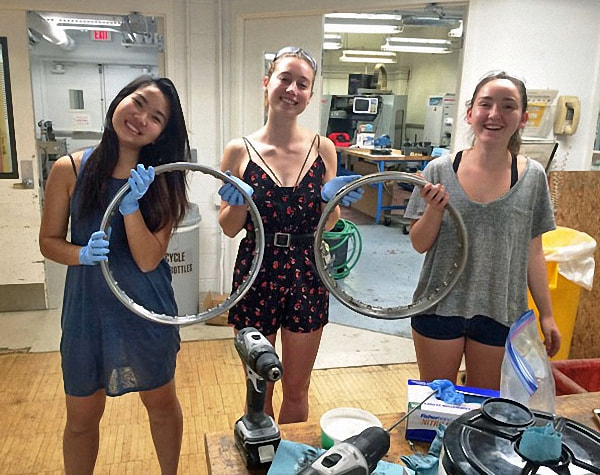
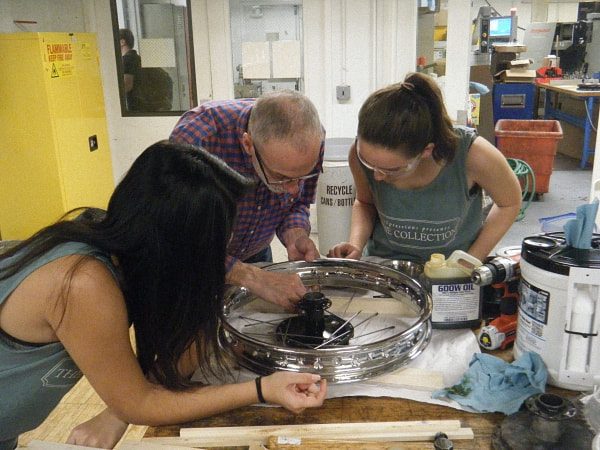
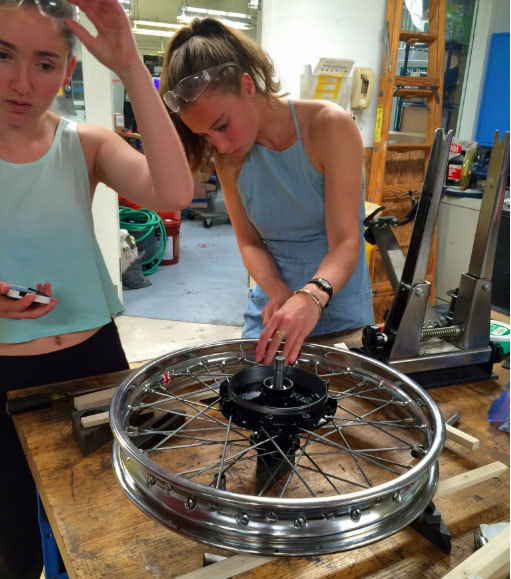
We disassembled the bike, took apart the wheels, measured the offset, learned about each of the parts, and cleaned all of the individual parts. (All the time taking very detailed notes about each part and making sure we labeled each part, so that we wouldn’t lose any of the 80 spokes). We began by taking apart the wheels, which allowed us to get a sense for the different parts of not only the wheels themselves, but the entire bike as a whole. |
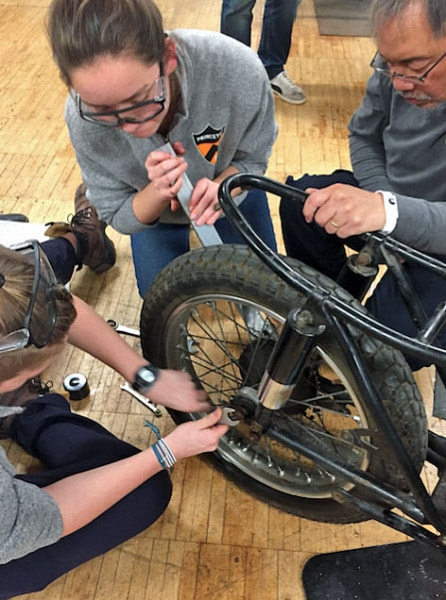
First we had to remove the wheel from the actual bike. We also realized that the front wheel and the back wheel had very similar but different structures.
After removing the wheels, we started taking them apart beginning with the front wheel.
We took apart the hub, removing each bearing and nut. In the process, 'Yield' a rust removal spray, became our best friend.
After removing the middle components, we began taking off the inner tube. This was an extremely difficult process and required the help of many people. We used three tire irons to remove the inner tube and a mallet to successfully remove the tire. This way, we could successfully remove the nipples and spokes.
We then we measured the offset of the hub from the rim so that when we put the wheel back together, we could make sure that the spokes were at the right angle. We also made sure to take pictures of the pattern of overlap of the spokes to ensure accurate reassembly of the spokes.
Next we removed all 40 nipples and spokes, then repeated the process with the back wheel. We had successfully taken apart the wheel!
|
While the structures of the front and back wheels are generally very similar, there are a few key differences. The front wheel, for example was smaller than the rear wheel. The rear wheel also included a sprocket, which connected to the chain of the motorcycle.
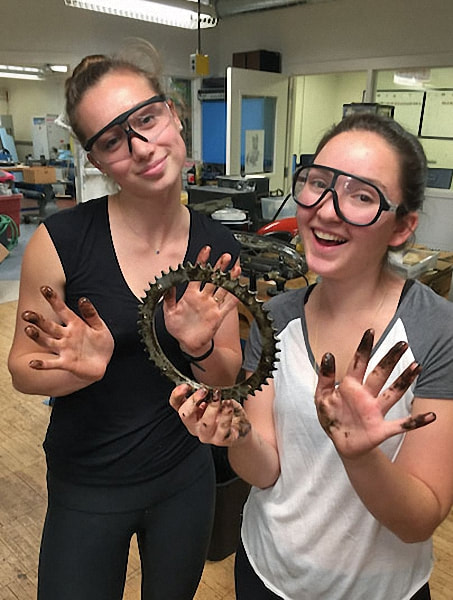
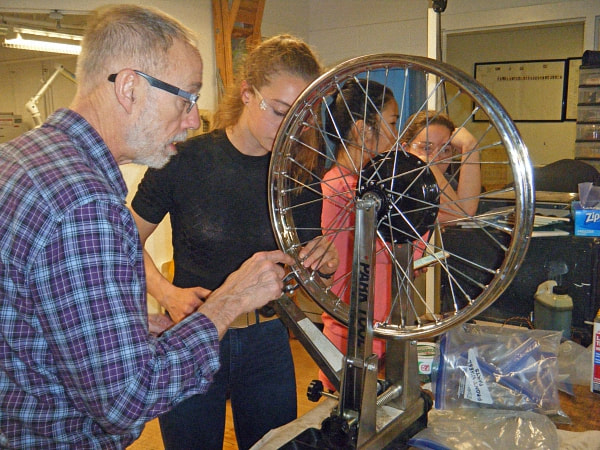
The next few weeks consisted of long hours of cleaning and maintaining, as we cleaned all 80 spokes and every nipple, bearing, nut, and spring. The bulk of our time was taken up with spoke cleaning, which we initially did by hand. With Noel’s help, however, we expedited the process by inserting the spokes into a screwdriver. This really made the process more efficient and effective! Near the end of our cleaning process, Bill Becker came in to teach us about the physics behind the wheel and the steps to putting the wheel back together. After a presentation in which he explained the forces acting on a wheel and the materials used in the motorcycle, Bill came into the lab and taught us how to true a wheel using a truing stand and small spoke wrenches. While truing involved a long process of adjustments to allow the wheel to spin evenly, it was incredibly satisfying to see our work finally coming together. Our next steps in assembling the wheel included putting together the cam and brake, attaching the spokes based on our photos and observation of the ‘62, and truing of the wheel. Weaving the spokes back in was particularly frustrating for us because we had the wrong rims, so we had to weave and un-weave the wheel three different times before we finally wove the right spokes into the right rim. After our rims' spokes were assembled, we trued the wheel, which consisted of tightening and loosening the tension in the spokes. Without the correct tension in the spokes, the offset of the spokes we measured at the beginning of the process would be inaccurate. The process is correcting the imbalance in the spokes. By using the spoke wrench, we tightened or loosened the spokes depending on the lateral or concentrical offset. We even tested the spokes by listening to the frequency of the vibrations. Soon enough, we were ready to put the tire back on with the tire irons and the attach the final wheel onto the bike. The remaining few steps included attaching the brake cables and the chain. Now we were reading to take the bike for a spin! |
The '62 Cub
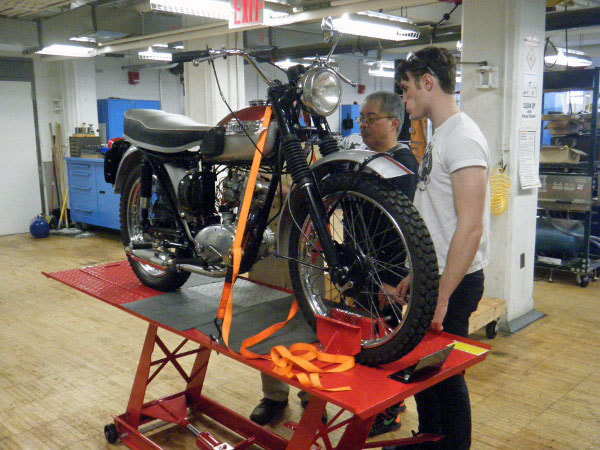
In addition to working on the 65′ Tiger Cub, we have also been working on a 62′ model. In order to have easier access to the engine, we raised the bike up on a lift. We opened up the 62’s engine case to take a look at inside components–cleaning and repairing different miscellaneous components.
After each part of the engine was cleaned and repaired. we took each component and assembled the entire engine. Once finished, we will install the engine in the frame.
It was great reinforcement to remember the process of taking apart the bottom end/oil system, and exciting to see how much more quickly it went as we knew what to do when we encountered problems we had seen before!
It was also great practice for the ‘65: once everything was clean and we had decided which parts were not fit to reuse and we had replaced them, we began the process of putting the ’65 back together.
This involved fitting the oil pump, buttoning up the case, applying liquid gasket, working together with the clutch, top end, and gaskets teams in this process to make the engine work again.
Eventually, the entire bike came together thanks to everyone’s hard work. Hearing the engine start and realizing that we played a big role in making that happen was truly rewarding moment as we could see (and hear) the results of our hard work all semester.
The Rebuild and Lasting Thoughts
|
We have gained so much from this class – not only do we have a great understanding of how motorcycles work (we never would have believed six months ago that we would know this much about motorcycles!) and a handle on some essential technical and mechanical skills, but we have also learned a lot about communication, teamwork, problem-solving, and persistence. As we saw with the lift, which we built in class, we are prepared and able to apply the lessons we learnt in this class to problems that we could well encounter on a day to day basis.
Thank you all: Professor Littman, Glen, John, Al, and Noel for all of your guidance and support and to everyone at Princeton who has made this class possible! Also, thank you to our whole class – putting together this bike was a team effort and we loved working with and getting to know all of you! With much gratitude, Oscar and Jamie We couldn’t be more grateful for the opportunity to work on the clutch and transmission of the ’65 Tiger Cub! While the information may have been overwhelming at times, it is so exciting to truly understand how a motorcycle works. At the start of the course, we could barely figure out how to take off the timing cover on the engine, but now we are confident that we could restore both the clutch and transmission all on our own with the knowledge we have gained from this class. One of the coolest experiences at Princeton by far, thanks to everyone who made this class possible! Ali & Hudson |
We have really enjoyed working on the wheels and having a hands on opportunity to work on the bike. We hope that our presentation was enjoyable! We certainly enjoyed making the presentation (and the cake!), and we hope that all future wheels teams enjoy the class as much as we have.
Thank you, Professor Littman, so much for the opportunity to take part in such a special class! Grace, Aly K, Jenny It was an amazing experience and we learned so much about motorcycles! Thank you much for a great year! We had so much fun and can’t wait to bring everything we’ve learned into our future experiences in life! Thank you!!! Izzie and Alex Micah and I wore many hats over the course of our journey, and together we took on many challenges. Now that we have reached the course’s end, though, I know that we are both very proud of the work we’ve done, and that we are extremely grateful to have been a part of it! Micah and Jim We had a great experience and learned a lot over the course of the semester. We just wanted to thank Professor Littman, Glenn, Jon, and the rest of the machine shop for guiding us throughout the rebuild, and the rest of the class for making it such an enjoyable term. Chris and Parker |
'65 Follow-Up
by Diego
In the weeks following the end of the course, I came to the E-Quad to work with Professor Littman on the History of Engineering project as part of the Summer Practical Research Experience (SPRE). As part of my work this summer, I took a look back at the ’65 Tiger Cub motorcycle to fix a couple of lingering issues.
It was my objective to identify the source of these issues and to address them.
These problems were:
Oil Leakage Issue
In the investigation of the grey exhaust smoke, shopmaster Glenn Northey and I took a look at several parts of the Tiger Cub’s engine. First, we removed the carburetor and examined the “jets” inside. These small valves control how much air is mixed with fuel when the engine is running, and we theorized that a damaged jet could be allowing the engine pressure to drop, which in turn was allowing oil to seep into the engine.
Our carburetor turned out to be functioning normally, so we turned to the engine’s top end.
We removed the cylinder head and inspected the piston. Sure enough, there was a small gap between the piston rings and the piston shaft. This gap was allowing small amounts of oil to leak up from below the piston into the combustion chamber.
Having identified the cause of the problem, it was decided the piston would need to be replaced with a larger one and the cylinder bored out to suit.
by Diego
In the weeks following the end of the course, I came to the E-Quad to work with Professor Littman on the History of Engineering project as part of the Summer Practical Research Experience (SPRE). As part of my work this summer, I took a look back at the ’65 Tiger Cub motorcycle to fix a couple of lingering issues.
It was my objective to identify the source of these issues and to address them.
These problems were:
- Blue-gray smoke in exhaust, suggesting oil leakage into the engine.
- A dim, flickering tail lamp, suggesting inadequate power supply to the electrical system
Oil Leakage Issue
In the investigation of the grey exhaust smoke, shopmaster Glenn Northey and I took a look at several parts of the Tiger Cub’s engine. First, we removed the carburetor and examined the “jets” inside. These small valves control how much air is mixed with fuel when the engine is running, and we theorized that a damaged jet could be allowing the engine pressure to drop, which in turn was allowing oil to seep into the engine.
Our carburetor turned out to be functioning normally, so we turned to the engine’s top end.
We removed the cylinder head and inspected the piston. Sure enough, there was a small gap between the piston rings and the piston shaft. This gap was allowing small amounts of oil to leak up from below the piston into the combustion chamber.
Having identified the cause of the problem, it was decided the piston would need to be replaced with a larger one and the cylinder bored out to suit.

