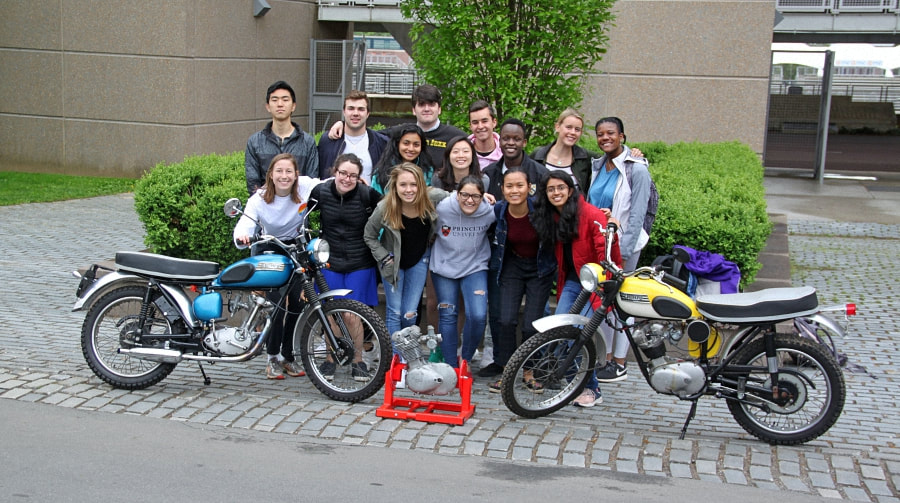
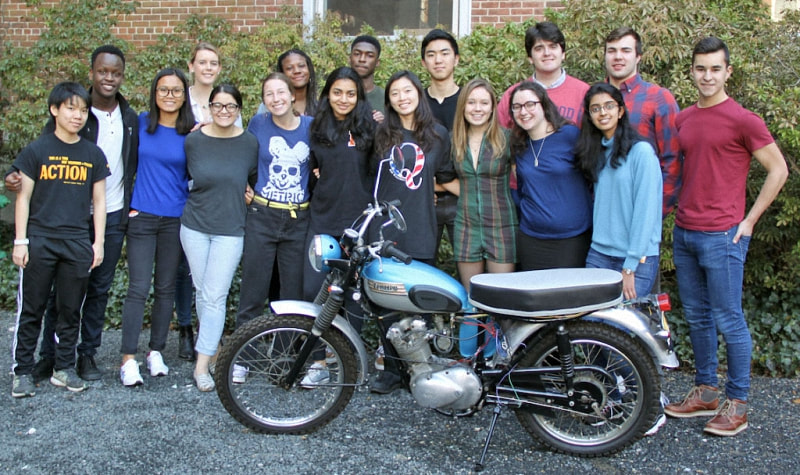
The Class of 2018 - 2019
Project - 1960 Tiger Cub
Project - 1960 Tiger Cub
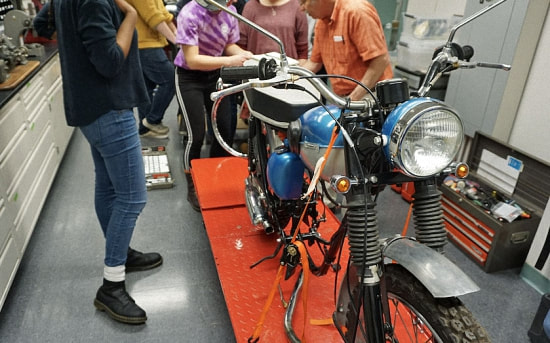
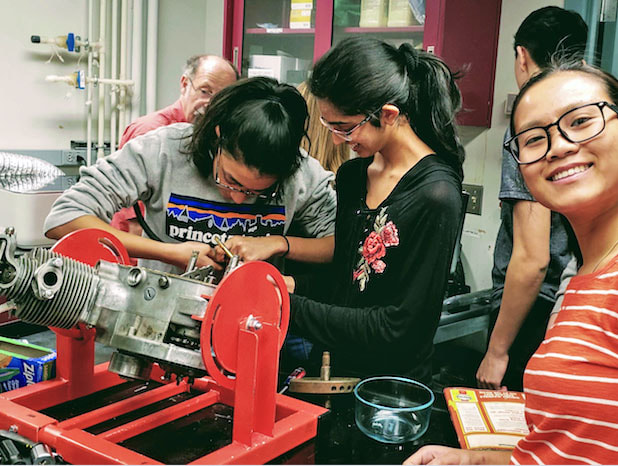
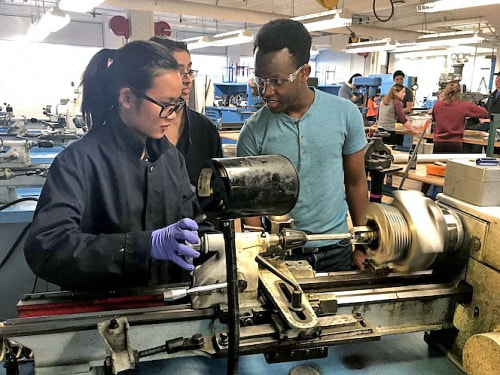
Professor of Mechanical and Aerospace Engineering Michael Littman (in blue shirt) leads a discussion during his freshman seminar “The Art and Science of Motorcycle Design.”
The class was open to observers during Princeton Teaching Week, which also featured workshops on innovations and discussions on experiential learning.
The class was open to observers during Princeton Teaching Week, which also featured workshops on innovations and discussions on experiential learning.
|

|
|
Groups:

|
|
Bottom End
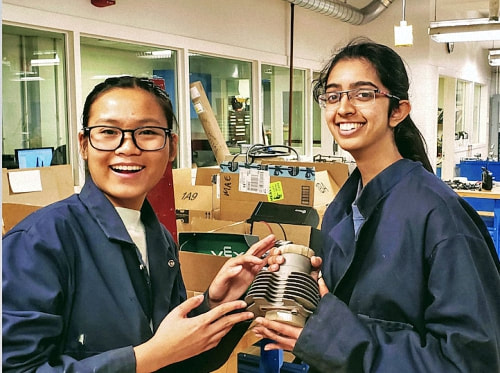
Jack and Rayyan Semester Work Overview
|
|
Top End
1. Cylinder Head
The first step we took was cleaning up and preparing the different parts of the head for assembly. We covered up precision parts and threads with painter’s tape before sandblasting the other surfaces of the head.
Two new valves that fit perfectly into the head were selected. We could tell the difference between the intake and exhaust valve because the exhaust valve is smaller than the intake.
Exhaust valves are naturally smaller than the intake because pressure from within the cylinder is already forcing exhaust out of the cylinder, so a large opening for the exhaust to flow out is not necessary.
The other smaller components within the head including the rockers, spindles, valve covers, studs, and assortment of washers and bolts were cleaned out with a solvent and wire brush in the parts cleaner.
|
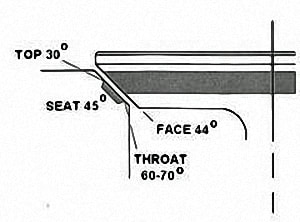
The next thing we did to prepare the head was grind and lap the valves. This process is done to make sure that the valves fit snugly into its seat allowing no air to escape.
To grind the valves properly, we had to ensure that the top, seat, and throat were at precisely the proper angle. The grinder tool has a conical shaped end which has sanding blocks attached to it. Different tips can be attached to have a conical end with 30, 45, or 60 degrees. We used these to grind the metal of the head down, so that the seat was at 45 degrees, the top at 30 degrees, and the throat at 60 degrees. |
After grinding the seats, we lapped the valve together with its seat. This process is applying an abrasive (in the form of the rough/fine lapping compound) between two surfaces and rubbing it together. This polishes the surfaces to make them fit more seamlessly together.
We repeatedly covered the surfaces with blue ink during both the grinding and lapping process and spun the valve in the seat to see where the blue ink would spread. This represented the parts that made contact, so we could see the parts which needed to be ground or lapped more. With this done, all the parts were prepared and ready for assembly.
First, we assembled the valve springs. We had to use a special tool that allowed us to compress the valve springs in their place, so we could lock in the top collar with the split cotter. It is important for the valve springs to be locked in because these have a high spring constant and could potentially hurt somebody if they were loose and could come flying out due to an unstable setting.
We also assembled the inlet and exhaust rockers. This was difficult because the rocker spindle had grooves and lips which would catch on various parts and not sit at the exact center.
There were also small holes for oil which had to be aligned for proper flow. What made this assembly all the more difficult was the involvement of springs which had to be pressed and held for long periods of time while assembling this. Its tension also made it difficult to press everything in together.
The rocker arms are connected to the pushrods and these work together to open and close the exhaust and inlet valves. When the pushrod of the camshaft pushes up, this makes the rocker arm push down and apply pressure on the different valves to keep them closed.
It is important the valve opens and closes properly because this controls the breathing of the engine, and several negative effects can result when the timing of inlet and exhaust is offset.
|
2. Cylinder
We sandblasted the cylinder barrel after ensuring that all the openings were closed. We covered the open surfaces to stop the sand from corroding the threads in the holes as well as on the protruding surfaces. We aptly cleaned the cylinder to get rid of the sand trapped in the holes, using water, and sprayed it with WD-40 to ensure it doesn’t rust. The fins were the most difficult part to sand blast and we had to hold the sand blasting gun at an angle in order to clean the fins. We sprayed painted our cylinder using a shiny silver paint giving it a glossy look. |
|
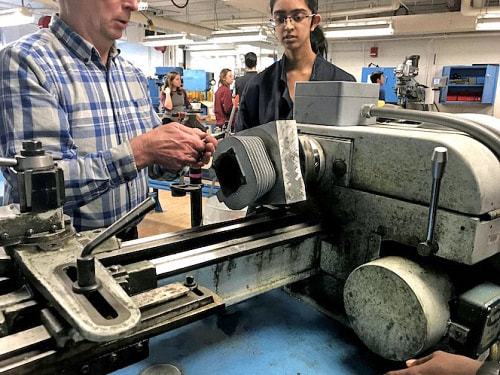
Boring/Honing - the boring process:
The boring process was a delicate process that required ultimate precision. It involves removing a thin layer of the inner metal of the cylinder. We used a dial to measure the evenness through the barrel and we were lucky to work with a completely even cylinder barrel, apparently, this wasn’t the case in the previous years.
Since we intended to use the 40mm piston, we had to ensure that we remove 1/5,000 inches of metal to ensure that we remove the rust while keeping the cylinder barrel airtight.
We mounted the cylinder barrel onto a lathe, and using a cutting tool, we were able to precisely cut 1/5000 inches of the steel.
|
|
The honing process:
We used the honing tool and WD40 to clean the cylinder barrel giving it a smooth finish. The honing tool was made of coarse stones which helped in cleaning the cylinder barrel.
We used the honing tool and WD40 to clean the cylinder barrel giving it a smooth finish. The honing tool was made of coarse stones which helped in cleaning the cylinder barrel.
|
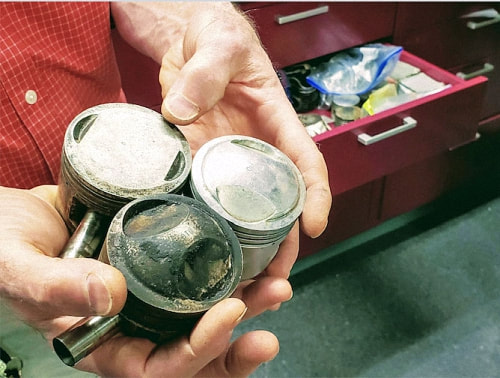
Compression Ratios:
Different pistons have different compression ratios. This is heavily dependent on the shape of the top of the piston. Below is an image showing different pistons with differently shaped domes. A higher compression ratio is desirable because internal combustion engines are heat engines, and higher efficiency is created because higher compression ratios permit the same combustion temperature to be reached with less fuel, while giving a longer expansion cycle, creating more mechanical power output and lowering the exhaust temperature. However, higher compression ratios increases likelihood of an engine knock which reduces efficiency or even end up damaging the engine. For the pistons shown have compression ratios of 7:1, 9:1 and 10.5:1. |
|
|
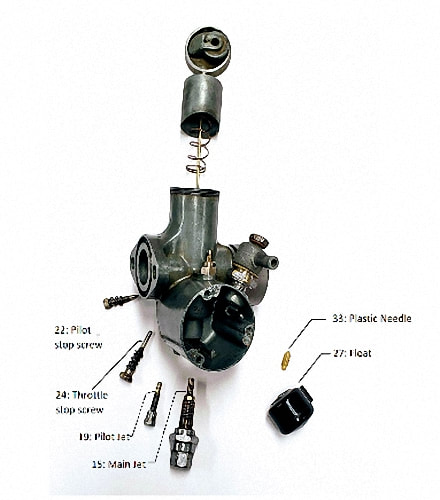
3. Carburetor – The Amal Monobloc 376
Parts of the Carburetor: The Amal Monobloc is, as the name suggests, composed of a one-piece (mono-block) aluminium cast block as the body. We had to clean our carburetor before reassembling it. To do so, we used Ultrasonic cleaning instead of simply parts cleaning it. Ultrasonic cleaning, as the name suggests, uses ultrasonic (above 20MHz) sound waves to clean parts. One may think that it works by resonating with the natural frequencies of the small grime particles and thus remove them, but this would be a poor design for a cleaner as differently sized particles of different materials would have different natural frequencies – the machine would have to send in a spectrum of ultrasonic waves which could cause interference and not clean anything. |
|
Instead it cleans by agitating the cleaning solvent to create small vapour bubbles in it. This is known as cavitation and is caused by rapid, non-homogenous changes in pressure in the fluid.
These cavitation bubbles then exert tremendous pressure, when they burst, on the impurities which then detach from the body.
This force does not do anything to the part due to its high mass, strong lattice alloy structure and a net force of null due to an uniform force from all sides of the part immersed in the fluid.
The solvent used is customized to the part to be cleaned and the kind of impurities on it. We wanted to clean the body of our carburetor which is made up of aluminium, so we used parts-cleaning fluid (oil based organic solvent) to do the trick.
|
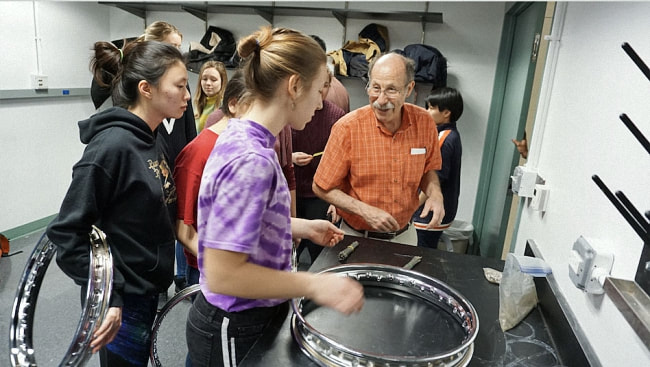
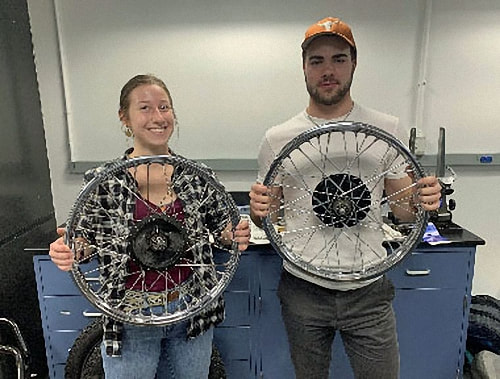
Wheels Maya and Shelby We checked for rims that would fit the ’60 Cub and discovered we need 19in and 18in wheels. Also checked to see which spokes we had, to see if they matched with the hub. The hubs have two flanges and since the hubs are not symmetrical, the spokes come out at different angles. Had to figure out the handedness of the rim, and whether they were the correct rims. |
|
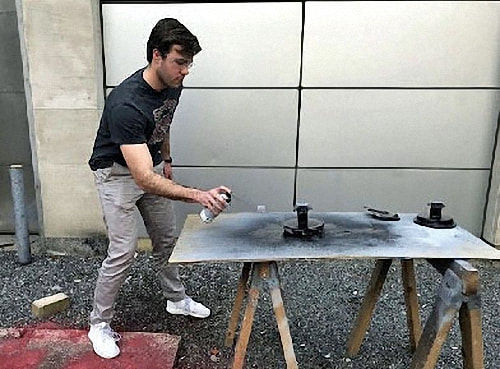
Painting the hub - Black spray paint - Multiple layers of paint required - Special technique used. Professor Littman helped us finish over Spring Break - Thanks, Professor!
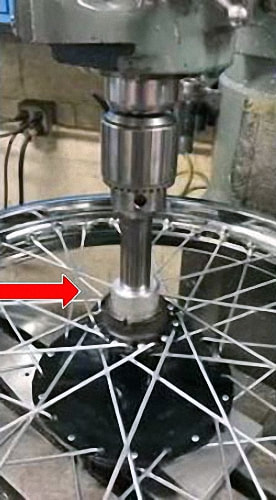
Lacing the Wheel - Short and long spokes correspond with different sides of the hub (short and long flange) - Spoke alignment and placing highly particular and tedious - Shorter spokes are threaded through the hub and secured with a nipple - Longer spokes are hooked onto the hub and secured with a nipple. Truing the wheel - Goals (2) - a. Wheel must turn evenly (not shift left/right) on the truing stand. b. Spokes must be secure and not poke out too far at the rim - To accomplish this, we spun the wheel and adjusted spokes in problematic spots - Eventually, too-long spokes were shaved off at the ends. Pressing the bearings and axle in - Axle and bearing must be securely in place, which required a machine press - Customed a tool to press in evenly without damaging anything. 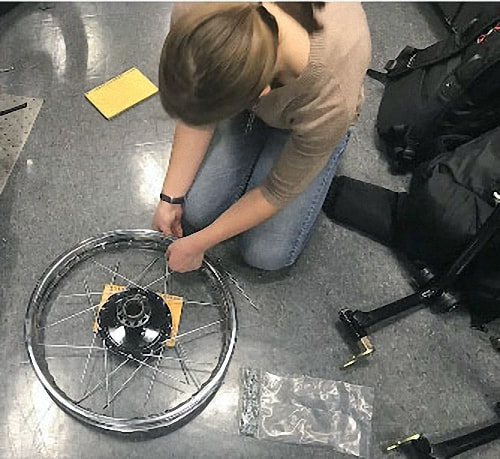
|
Putting the tire on the wheel - One lip on at a time - Inner tube - Align nozzle with rim hole - Tire irons to finish the job - Don’t poke the inner tube!
|
What We Learned
- How to restore hubs (a lot of sanding, filling, sanding, priming, sanding, and painting).
- To figure out which side of the wheel hub is the long flange side and the short flange side, look to see where the spokes cross (high or low)
- Our spokes have left-handed threads (no longer righty tighty)
- To test if all the spokes are evenly tight, you can listen to see if they produce the same frequency of sound when struck
- To adjust the “trueness” of the wheel, you must tighten and loosen the spokes on the appropriate sides: